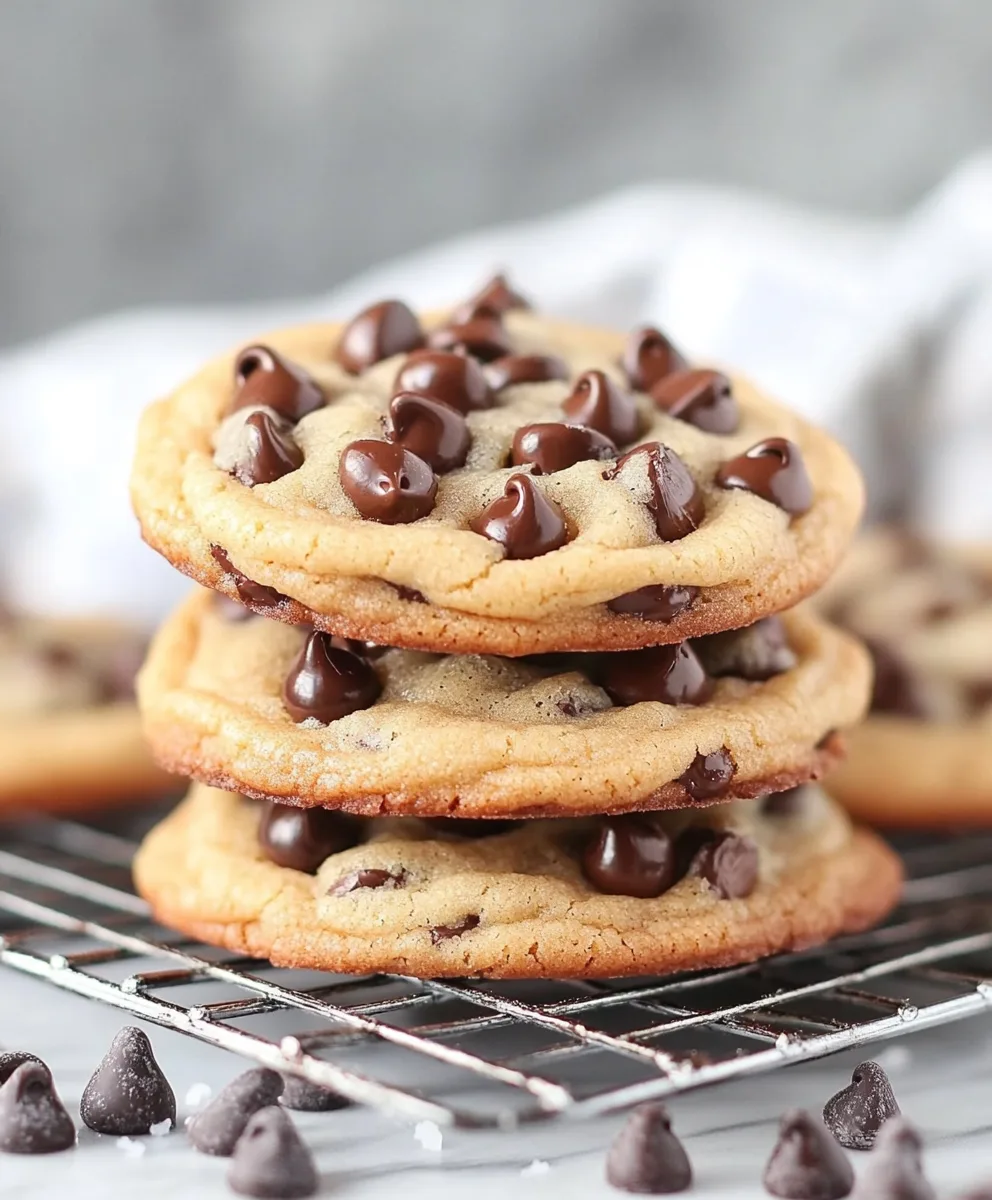
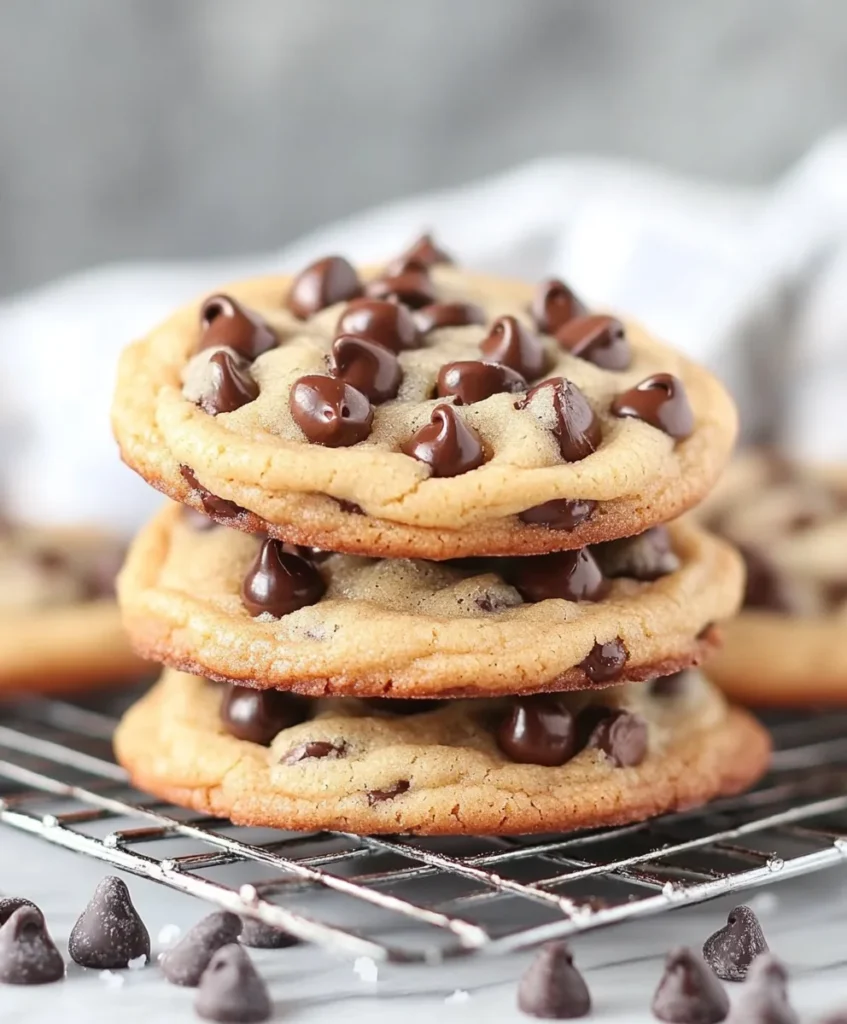
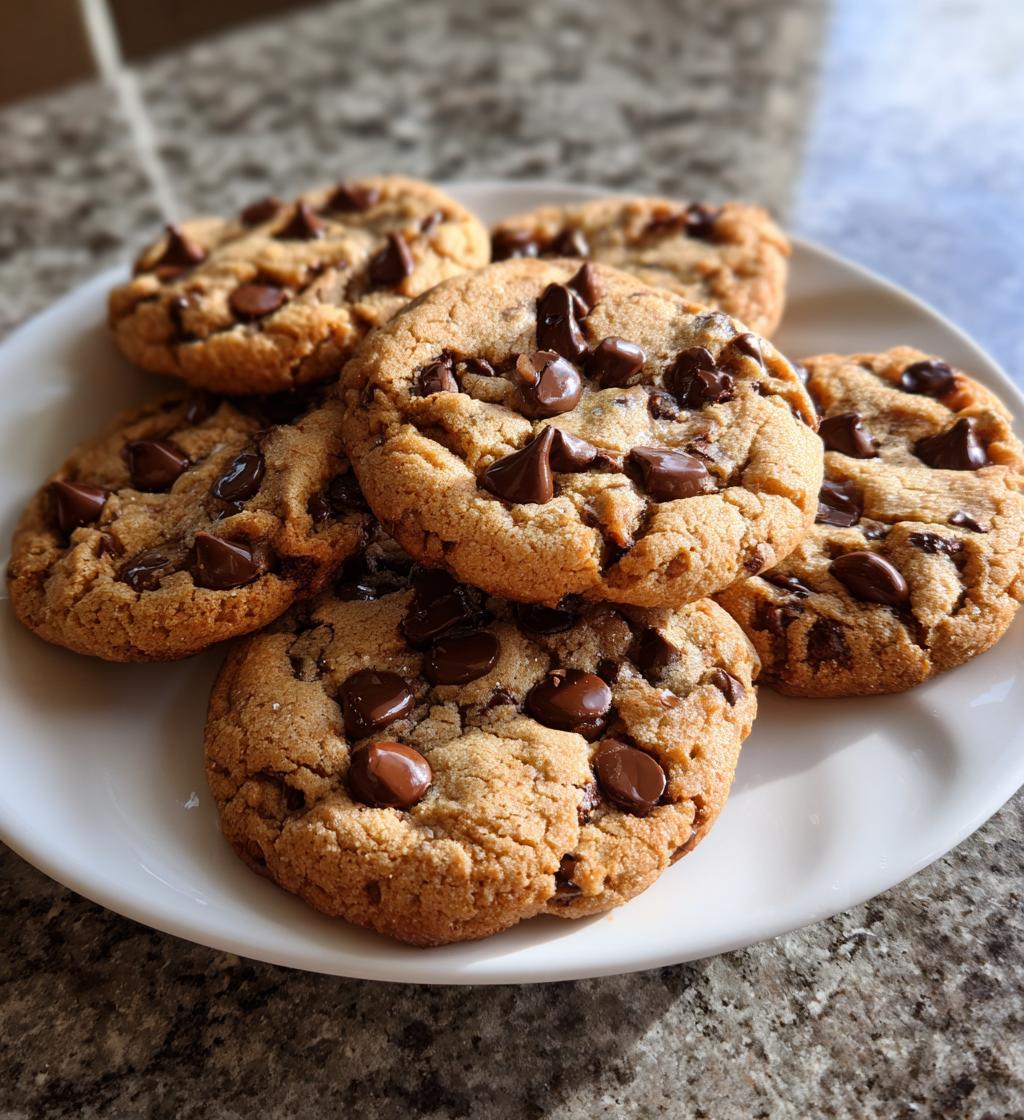
There’s something magical about the smell of freshly baked cookies wafting through the air. Bakery style chocolate chip cookies are a delightful treat that brings joy to many. These cookies are known for their soft, chewy centers and crispy edges, making them a favorite among cookie lovers. Whether you’re baking for a special occasion or just to satisfy a sweet tooth, these cookies are sure to impress.
Why Choose Bakery Style Chocolate Chip Cookies?
Choosing bakery style chocolate chip cookies means opting for a treat that feels special. These cookies are not just any ordinary dessert; they are crafted to deliver a bakery-quality experience right in your home. Here are a few reasons why you should consider making these cookies:
- Texture: The blend of flours creates a chewy yet crispy texture that is simply irresistible.
- Flavor: With dark chocolate and a sprinkle of sea salt, each cookie bursts with rich flavors.
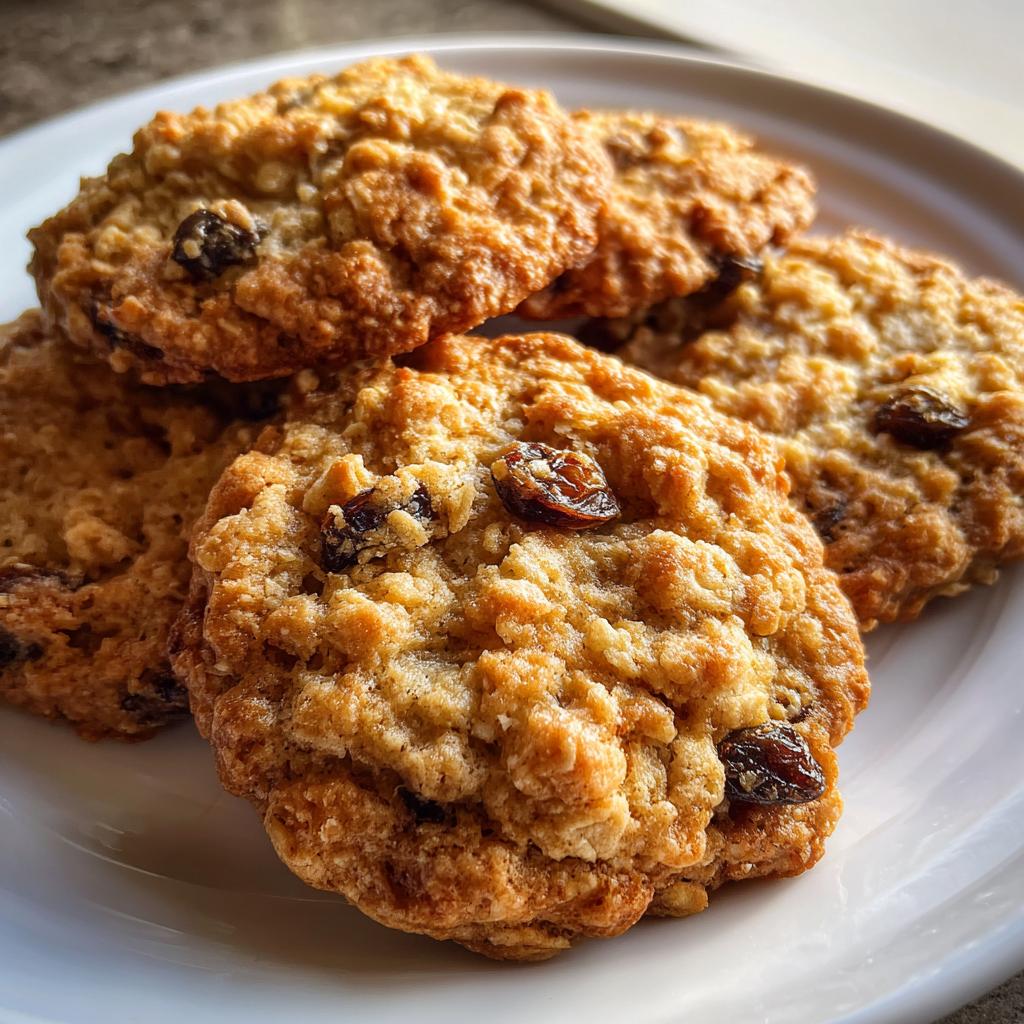
- Versatility: You can customize these cookies by adding nuts, different types of chocolate, or even dried fruits.
- Sharing: These cookies are perfect for sharing with friends and family, making any gathering a little sweeter.
In the following sections, we will dive into the ingredients, tools, and step-by-step preparation of these delightful bakery style chocolate chip cookies. Get ready to bake up a batch that will have everyone asking for seconds!
Ingredients for Bakery Style Chocolate Chip Cookies
To create the perfect batch of bakery style chocolate chip cookies, you need the right ingredients. Each component plays a vital role in achieving that delightful texture and rich flavor. Here’s what you’ll need:
- 2 cups minus 2 tablespoons cake flour: This flour gives the cookies a soft and tender crumb.
- 1 2/3 cups bread flour: The higher protein content in bread flour helps create a chewy texture.
- 1 1/4 teaspoons baking soda: This leavening agent helps the cookies rise and become fluffy.
- 1 1/2 teaspoons baking powder: It works alongside baking soda to ensure the cookies are light and airy.
- 1 teaspoon salt: Salt enhances the flavors and balances the sweetness of the cookies.
- 1 1/4 cups salted butter (softened): Butter adds richness and flavor, while the salt complements the sweetness.
- 1 1/4 cups light brown sugar: This sugar adds moisture and a hint of caramel flavor.
- 1 cup plus 2 tablespoons white granulated sugar: This sugar contributes to the cookies’ crisp edges.
- 2 large eggs: Eggs provide structure and moisture, helping bind the ingredients together.
- 2 teaspoons vanilla extract: Vanilla adds a warm, sweet aroma that enhances the overall flavor.
- 1 cup shaved or finely chopped dark chocolate (at least 60% cacao): Dark chocolate adds a rich, intense flavor.
- 1 1/2 cups dark chocolate chips: These chips provide bursts of chocolate in every bite.
- 1/4 cup white granulated sugar (for sprinkling): A sprinkle of sugar on top adds a sweet crunch.
- Sea salt (for sprinkling on top): A pinch of sea salt enhances the chocolate flavor and adds a gourmet touch.
Gathering these ingredients will set you on the right path to baking delicious bakery style chocolate chip cookies. Each ingredient contributes to the overall taste and texture, ensuring that your cookies will be a hit with everyone who tries them!
Tools Needed for Bakery Style Chocolate Chip Cookies
Before you start baking your delicious bakery style chocolate chip cookies, it’s essential to have the right tools on hand. Having the proper equipment not only makes the process easier but also helps ensure that your cookies turn out perfectly every time. Here’s a list of the must-have tools for this baking adventure:
- Mixing Bowls: You’ll need at least two large mixing bowls—one for the dry ingredients and another for the wet ingredients. Glass or stainless steel bowls work best.
- Measuring Cups and Spoons: Accurate measurements are crucial for baking. Use dry measuring cups for flour and sugar, and liquid measuring cups for wet ingredients.
- Hand Mixer or Stand Mixer: A hand mixer is great for mixing the butter and sugars, while a stand mixer can save time and effort, especially when creaming ingredients.
- Spatula: A sturdy spatula is perfect for folding in the chocolate and scraping down the sides of the bowl.
- Cookie Scoop or Tablespoon: A cookie scoop helps you portion out uniform cookie dough balls, ensuring even baking.
- Baking Sheets: Use two baking sheets lined with parchment paper to prevent sticking and make cleanup easier.
- Wire Rack: A wire rack is essential for cooling your cookies evenly after baking. This prevents them from becoming soggy.
- Oven Mitts: Protect your hands when handling hot baking sheets. A good pair of oven mitts is a must!
Having these tools ready will make your baking experience smooth and enjoyable. With the right equipment, you’ll be well on your way to creating scrumptious bakery style chocolate chip cookies that everyone will love!
Step-by-Step Preparation of Bakery Style Chocolate Chip Cookies
Now that you have gathered all your ingredients and tools, it’s time to dive into the fun part—baking! Follow these simple steps to create your very own bakery style chocolate chip cookies. Each step is designed to ensure that your cookies turn out perfectly every time.
Step 1: Preheat the Oven
Start by preheating your oven to 350°F (175°C). This is an important step because a properly heated oven helps the cookies bake evenly. While the oven warms up, you can prepare your baking sheets by lining them with parchment paper. This prevents the cookies from sticking and makes cleanup a breeze.
Step 2: Mix the Dry Ingredients
In a large bowl, whisk together the cake flour, bread flour, baking soda, baking powder, and salt. Mixing these dry ingredients well ensures that the leavening agents are evenly distributed. This step is crucial for achieving the perfect texture in your cookies. Once combined, set the bowl aside for later use.
Step 3: Cream the Butter and Sugars
In another large bowl, take your softened salted butter and add the light brown sugar and white granulated sugar. Using a hand mixer or stand mixer, beat the mixture on medium speed until it becomes light and fluffy. This usually takes about 2-3 minutes. Creaming the butter and sugars well is key to creating a soft, tender cookie.
Step 4: Add Eggs and Vanilla
Next, add the eggs to the butter and sugar mixture, one at a time. Make sure to mix well after each addition. Then, pour in the vanilla extract and mix until everything is fully incorporated. The eggs and vanilla add moisture and flavor, making your cookies even more delicious.
Step 5: Combine Wet and Dry Ingredients
Now it’s time to bring the wet and dry ingredients together. Gradually add the dry mixture to the wet ingredients, mixing on low speed. Be careful not to overmix; you want to combine them just until you see no more flour. Overmixing can lead to tough cookies, and we want them to be soft and chewy!
Step 6: Fold in the Chocolate
Using a spatula, gently fold in the shaved dark chocolate and dark chocolate chips. This step is where the magic happens! Make sure the chocolate is evenly distributed throughout the dough. The chocolate will melt slightly during baking, creating gooey pockets of chocolate in every bite.
Step 7: Portion the Dough
Using a cookie scoop or a tablespoon, drop rounded balls of dough onto the prepared baking sheets. Leave about 2 inches of space between each cookie to allow for spreading. This spacing is important to ensure that your cookies don’t stick together while baking.
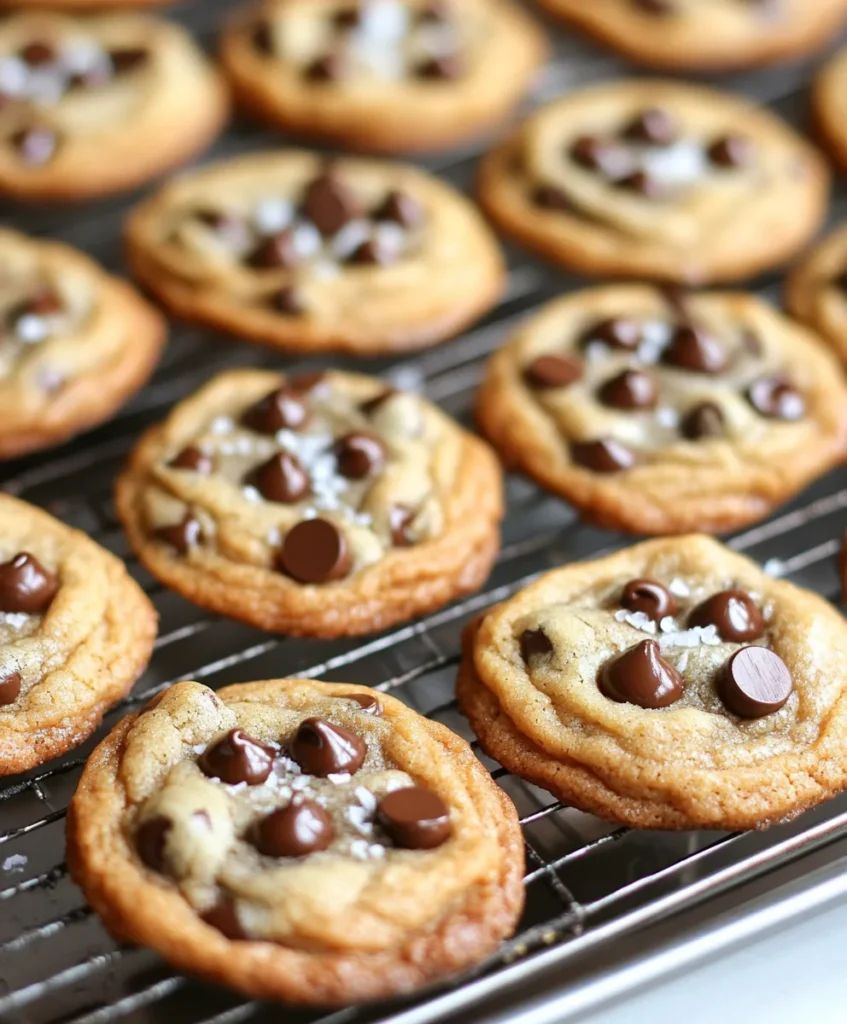
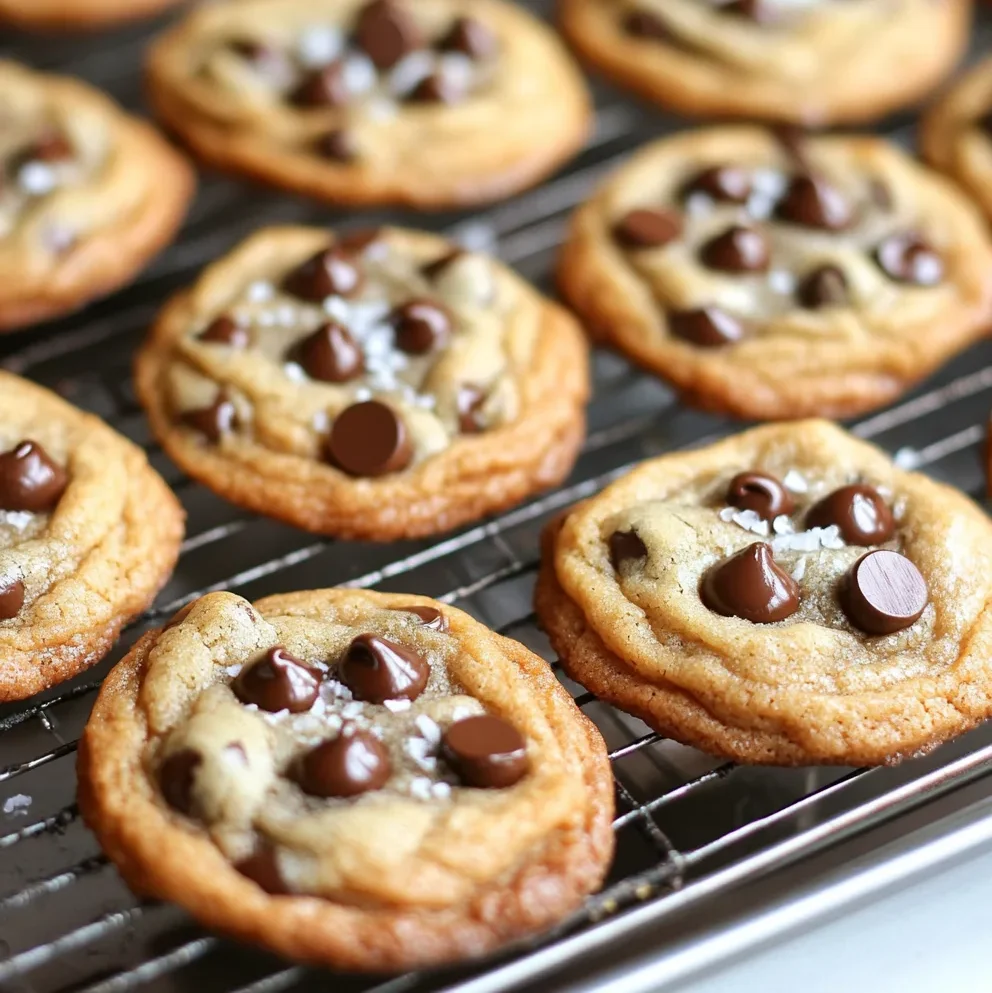
Step 8: Sprinkle with Sugar and Sea Salt
For an extra touch of sweetness and flavor, lightly sprinkle the tops of the cookie dough balls with the additional white granulated sugar and a pinch of sea salt. This step adds a delightful crunch and enhances the chocolate flavor, making your cookies taste even more gourmet.
Step 9: Bake the Cookies
Place the baking sheets in the preheated oven and bake for 12-15 minutes. You want the edges to be golden brown while the centers remain soft. Keep an eye on them, as baking times can vary depending on your oven. The cookies will continue to cook slightly after you take them out, so don’t worry if they look a bit underbaked.
Step 10: Cool the Cookies
Once baked, remove the cookies from the oven and let them cool on the baking sheets for about 5 minutes. This allows them to set before transferring them to a wire rack. Cooling on a wire rack helps prevent sogginess, ensuring that your cookies maintain their perfect texture.
Step 11: Serve the Cookies
Finally, it’s time to enjoy your delicious bakery style chocolate chip cookies! You can serve them warm or at room temperature. These cookies are perfect for sharing with friends and family or indulging in all by yourself. Either way, they are sure to be a hit!
Serving Suggestions for Bakery Style Chocolate Chip Cookies
Once your bakery style chocolate chip cookies are baked to perfection, it’s time to think about how to serve them. These cookies are not only delicious but also versatile, making them perfect for various occasions. Here are some delightful serving suggestions to elevate your cookie experience:
- With a Glass of Milk: There’s nothing quite like pairing warm cookies with a cold glass of milk. The creamy texture of milk complements the rich chocolate, creating a classic combination that everyone loves.
- Ice Cream Sandwiches: For a fun twist, use two cookies to create an ice cream sandwich. Simply place a scoop of your favorite ice cream between two cookies. This treat is perfect for hot summer days!
- Cookie Platter: Arrange your cookies on a beautiful platter for a stunning presentation. You can add some fresh fruit or nuts around the cookies for a colorful touch. This makes for an impressive dessert at parties or gatherings.
- With Coffee or Tea: Enjoy your cookies with a warm cup of coffee or tea. The flavors of the cookies pair wonderfully with the rich notes of coffee or the soothing qualities of tea.
- Gift Them: Share the joy of your homemade cookies by packaging them as gifts. Place them in a decorative box or jar, and tie it with a ribbon. This thoughtful gesture is perfect for birthdays, holidays, or just because!
- Warm Up: If you have leftover cookies, warm them up in the microwave for a few seconds before serving. This will make them soft and gooey again, just like when they first came out of the oven.
These serving suggestions will not only enhance your enjoyment of bakery style chocolate chip cookies but also make them a delightful treat for others. Whether you’re hosting a gathering or simply indulging at home, these cookies are sure to bring smiles all around!
Tips for Perfect Bakery Style Chocolate Chip Cookies
To achieve the ultimate bakery style chocolate chip cookies, a few tips can make all the difference. These simple tricks will help you create cookies that are soft, chewy, and bursting with flavor. Here are some essential tips to keep in mind:
- Use Quality Ingredients: The quality of your ingredients matters. Opt for high-quality chocolate and fresh butter. This will enhance the flavor of your cookies significantly.
- Chill the Dough: For even better results, consider chilling your cookie dough for at least an hour before baking. Chilling helps the flavors meld together and can improve the texture, resulting in thicker cookies.
- Don’t Overmix: When combining the wet and dry ingredients, mix just until combined. Overmixing can lead to tough cookies. A gentle hand is key!
- Check Oven Temperature: Ovens can vary in temperature. Use an oven thermometer to ensure your oven is at the correct temperature. This helps prevent underbaking or overbaking your cookies.
- Use Parchment Paper: Always line your baking sheets with parchment paper. This prevents sticking and allows for even baking, making cleanup a breeze.
- Watch the Baking Time: Keep an eye on your cookies as they bake. Remove them from the oven when the edges are golden brown but the centers are still soft. They will continue to cook slightly after being taken out.
- Experiment with Mix-Ins: Feel free to get creative! Add nuts, dried fruits, or different types of chocolate to customize your cookies. This adds variety and makes each batch unique.
- Store Properly: To keep your cookies fresh, store them in an airtight container at room temperature. If you want to keep them longer, freeze them in a sealed bag. They can last for up to three months in the freezer.
By following these tips, you’ll be well on your way to baking the perfect bakery style chocolate chip cookies. Each batch will be a delightful treat that everyone will love. Happy baking!
FAQs about Bakery Style Chocolate Chip Cookies
What makes bakery style chocolate chip cookies different?
Bakery style chocolate chip cookies stand out due to their unique texture and flavor. The combination of cake flour and bread flour creates a soft, chewy center with crispy edges. Additionally, the generous amount of chocolate, both in chips and shaved form, ensures a rich chocolate experience in every bite. The sprinkle of sea salt on top enhances the sweetness, giving these cookies a gourmet touch that you often find in bakeries.
Can I use different types of chocolate in bakery style chocolate chip cookies?
Absolutely! You can customize your bakery style chocolate chip cookies by using different types of chocolate. For instance, you can mix in milk chocolate, white chocolate, or even flavored chocolate like caramel or mint. Each type of chocolate will bring its own unique flavor profile, allowing you to create a cookie that suits your taste preferences. Just remember to maintain the overall balance of sweetness in your dough.
How do I store bakery style chocolate chip cookies?
To keep your bakery style chocolate chip cookies fresh, store them in an airtight container at room temperature. This will help maintain their soft and chewy texture. If you want to keep them for a longer period, you can freeze them. Just place the cookies in a sealed bag or container, and they can last for up to a week at room temperature or three months in the freezer. When you’re ready to enjoy them, simply thaw them at room temperature or warm them in the microwave for a few seconds.
Can I freeze bakery style chocolate chip cookies?
Yes, you can freeze bakery style chocolate chip cookies! Freezing is a great way to preserve their freshness. To freeze, allow the cookies to cool completely, then place them in a single layer on a baking sheet. Freeze them for about an hour, then transfer them to a sealed bag or container. This method prevents them from sticking together. When you’re ready to enjoy them, just thaw at room temperature or warm them up in the microwave for a delicious treat!
Conclusion on Bakery Style Chocolate Chip Cookies
In conclusion, bakery style chocolate chip cookies are a delightful treat that can bring joy to any occasion. With their perfect balance of soft, chewy centers and crispy edges, these cookies are sure to impress anyone who takes a bite. The combination of high-quality ingredients, such as cake flour and dark chocolate, elevates these cookies to a bakery-quality experience right in your own kitchen.
Print
Bakery Style Chocolate Chip Cookies are simply delicious.
- Total Time: 35 minutes
- Yield: 24 cookies 1x
- Diet: Vegetarian
Description
Bakery style chocolate chip cookies are a delightful treat known for their soft, chewy centers and crispy edges, crafted to deliver a bakery-quality experience at home.
Ingredients
- 2 cups minus 2 tablespoons cake flour
- 1 2/3 cups bread flour
- 1 1/4 teaspoons baking soda
- 1 1/2 teaspoons baking powder
- 1 teaspoon salt
- 1 1/4 cups salted butter (softened)
- 1 1/4 cups light brown sugar
- 1 cup plus 2 tablespoons white granulated sugar
- 2 large eggs
- 2 teaspoons vanilla extract
- 1 cup shaved or finely chopped dark chocolate (at least 60% cacao)
- 1 1/2 cups dark chocolate chips
- 1/4 cup white granulated sugar (for sprinkling)
- Sea salt (for sprinkling on top)
Instructions
- Preheat the oven to 350°F (175°C).
- Mix the dry ingredients: cake flour, bread flour, baking soda, baking powder, and salt.
- Cream the softened butter with light brown sugar and white granulated sugar until light and fluffy.
- Add eggs one at a time and mix well, then add vanilla extract.
- Combine wet and dry ingredients, mixing on low speed until just combined.
- Fold in the shaved dark chocolate and dark chocolate chips.
- Portion the dough onto prepared baking sheets, leaving space between each cookie.
- Sprinkle with additional white granulated sugar and sea salt.
- Bake for 12-15 minutes until edges are golden brown and centers are soft.
- Cool on baking sheets for 5 minutes before transferring to a wire rack.
- Serve warm or at room temperature.
Notes
- Use quality ingredients for the best flavor.
- Chill the dough for at least an hour for thicker cookies.
- Do not overmix the dough to avoid tough cookies.
- Check oven temperature for accurate baking.
- Store cookies in an airtight container at room temperature.
- Prep Time: 20 minutes
- Cook Time: 15 minutes
- Category: Dessert
- Method: Baking
- Cuisine: American
Nutrition
- Serving Size: 1 cookie
- Calories: 200
- Sugar: 15g
- Sodium: 150mg
- Fat: 10g
- Saturated Fat: 6g
- Unsaturated Fat: 4g
- Trans Fat: 0g
- Carbohydrates: 25g
- Fiber: 1g
- Protein: 2g
- Cholesterol: 30mg
Keywords: chocolate chip cookies, bakery style cookies, dessert, baking
")
")
")
")