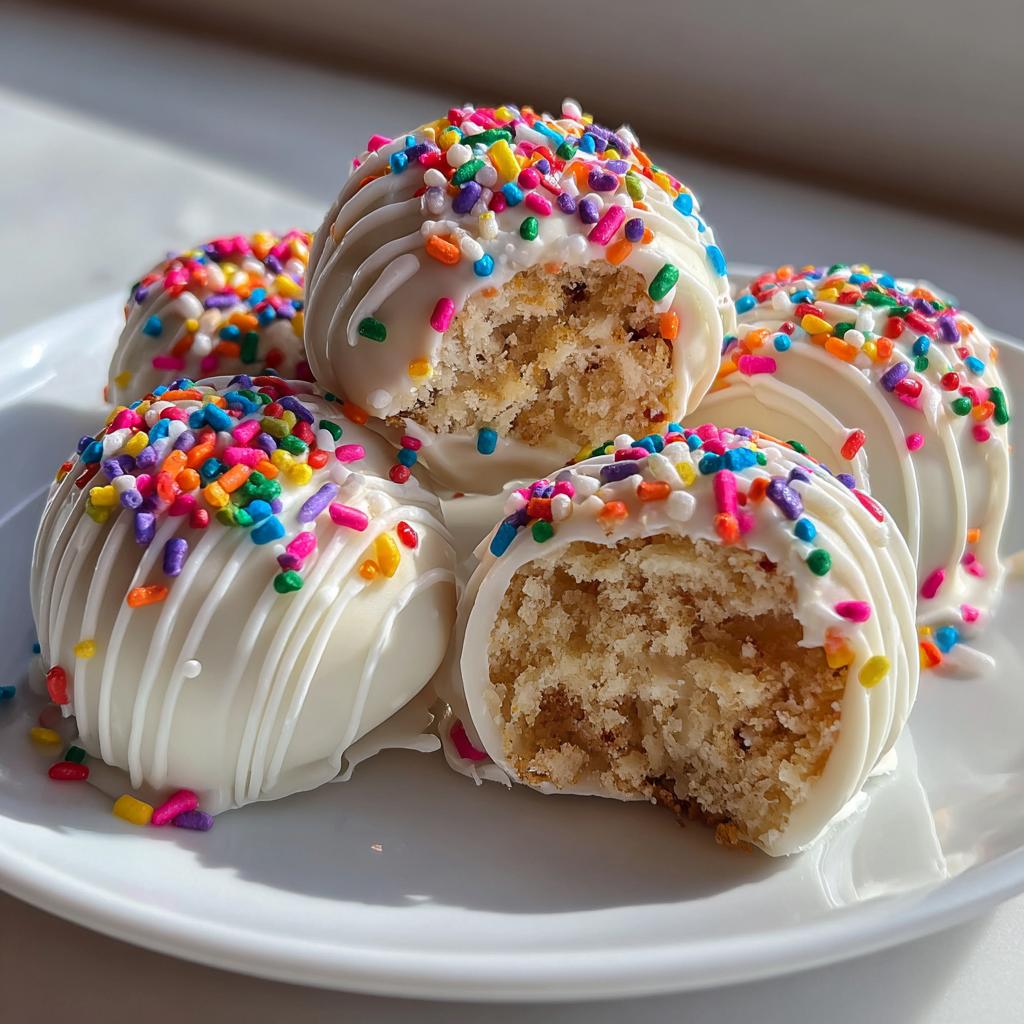
You know those moments when you need a dessert that screams “celebration” but you’re short on time? That’s exactly how my love affair with birthday cake truffles began. Last year, I completely forgot about my niece’s party until two hours before – cue panic! I grabbed a leftover vanilla cake from the fridge, mixed in some frosting, and rolled them into these magical little bites. When I dipped them in white chocolate and tossed on sprinkles, the kids went wild. Now they’re my go-to for every occasion – easy enough for a weeknight treat but fancy enough to impress. The best part? No one will ever guess they came together in minutes!
Why You’ll Love These Birthday Cake Truffles
These little bites of joy have stolen my heart (and my family’s) for so many reasons:
- No-bake magic: After the initial bake, it’s all hands-on fun – no oven required!
- Kid-approved: My nieces fight over who gets to roll the sprinkles (messy fingers = happy memories).
- Endless party potential: Swap sprinkles for holiday colors or match them to your party theme.
- Secretly simple: They look fancy but take less effort than frosting a whole cake – my kind of dessert!
Ingredients for Birthday Cake Truffles
Gather these simple ingredients – you might already have most in your pantry!
- 1 box vanilla cake mix (plus whatever eggs/oil/water your brand requires – check the box!)
- 1/2 cup vanilla frosting (room temperature spreads easier)
- 1/2 cup rainbow sprinkles (plus extra for decorating)
- 2 cups white chocolate chips (high quality melts smoother)
- 1 tbsp coconut oil (helps the chocolate dip like a dream)
Ingredient Substitutions & Notes
No vanilla cake mix? No problem! Here’s how to adapt:
- Use gluten-free cake mix or leftover cake (stale works great!)
- Swap frosting for cream cheese or dairy-free alternatives
- Avoid runny frostings – they make rolling impossible!
- Coconut oil can sub with vegetable oil in the chocolate
Equipment You’ll Need
Don’t worry – you probably have everything already! Here’s what I grab from my kitchen:
- Large mixing bowl (for those cake crumbs!)
- Baking sheet + parchment paper (trust me, it’s a lifesaver)
- Microwave-safe bowl (for that silky chocolate dip)
- A fork or toothpicks (my secret dipping tools)
How to Make Birthday Cake Truffles
Okay, let’s get to the fun part! I promise it’s easier than it looks – just follow these steps and you’ll have perfect truffles every time.
Step 1: Bake & Crumble the Cake
First, bake your cake according to the package directions. Here’s my secret – I actually prefer baking it a day ahead! A completely cooled cake (I’m talking room temperature, no warmth left at all) crumbles way better. Once cooled, I use my hands to break it into fine crumbs in a big bowl. No fancy tools needed – just get in there and crumble away!
Step 2: Mix Frosting & Roll Balls
Now, add your frosting a spoonful at a time, mixing as you go. You’ll know it’s ready when you can press the mixture together and it holds its shape. Too dry? Add more frosting. Too sticky? A sprinkle of powdered sugar helps. Then roll tablespoon-sized portions between your palms – I use a cookie scoop for perfect little rounds. Pro tip: damp hands prevent sticking!
Step 3: Freeze & Dip in Chocolate
Here’s the magic trick – freeze those balls for at least 30 minutes first! This keeps them from falling apart when dipped. For the chocolate, microwave the chips with coconut oil in 30-second bursts, stirring between each. When it’s smooth and glossy, work quickly – dip each frozen ball using a fork, let excess drip off, then immediately roll in sprinkles before the chocolate sets. Place them back on parchment paper to harden. If your chocolate starts thickening, just microwave for 5 more seconds!
Tips for Perfect Birthday Cake Truffles
After making hundreds of these little gems (and yes, a few disasters along the way!), here are my hard-earned secrets:
- Cookie scoop for the win: That little ice cream scoop in your drawer? It’s the perfect tool for making evenly-sized truffles every time – no lopsided balls here!
- Sprinkle while wet: You’ve got about a 10-second window after dipping to add sprinkles before the chocolate sets. I keep my sprinkle bowl right next to my dipping station.
- Chill out: If your melted chocolate gets too thin, pop it in the fridge for 2 minutes – it’ll thicken right up to the perfect coating consistency.
- Double dip magic: For extra decadence, let the first chocolate layer harden, then dip again for a thicker shell that gives that satisfying “snap” when bitten.
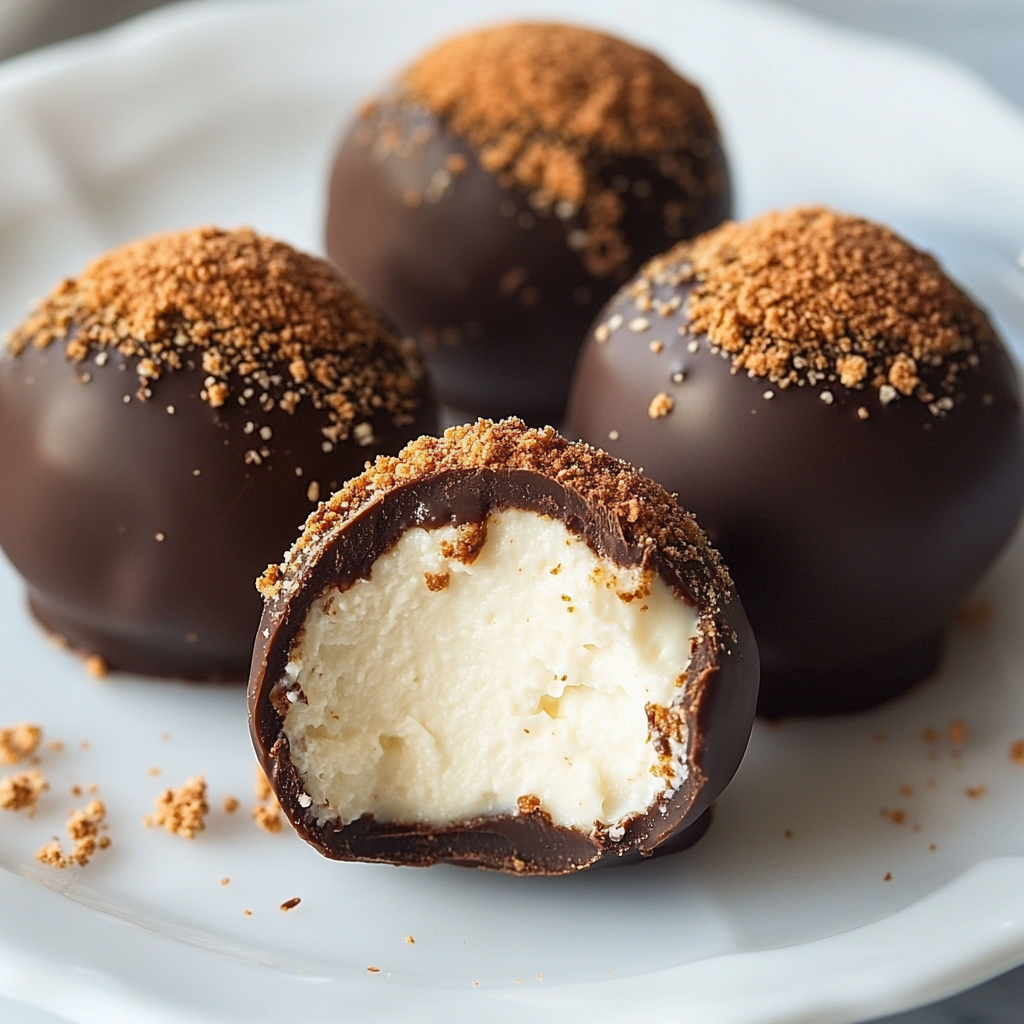
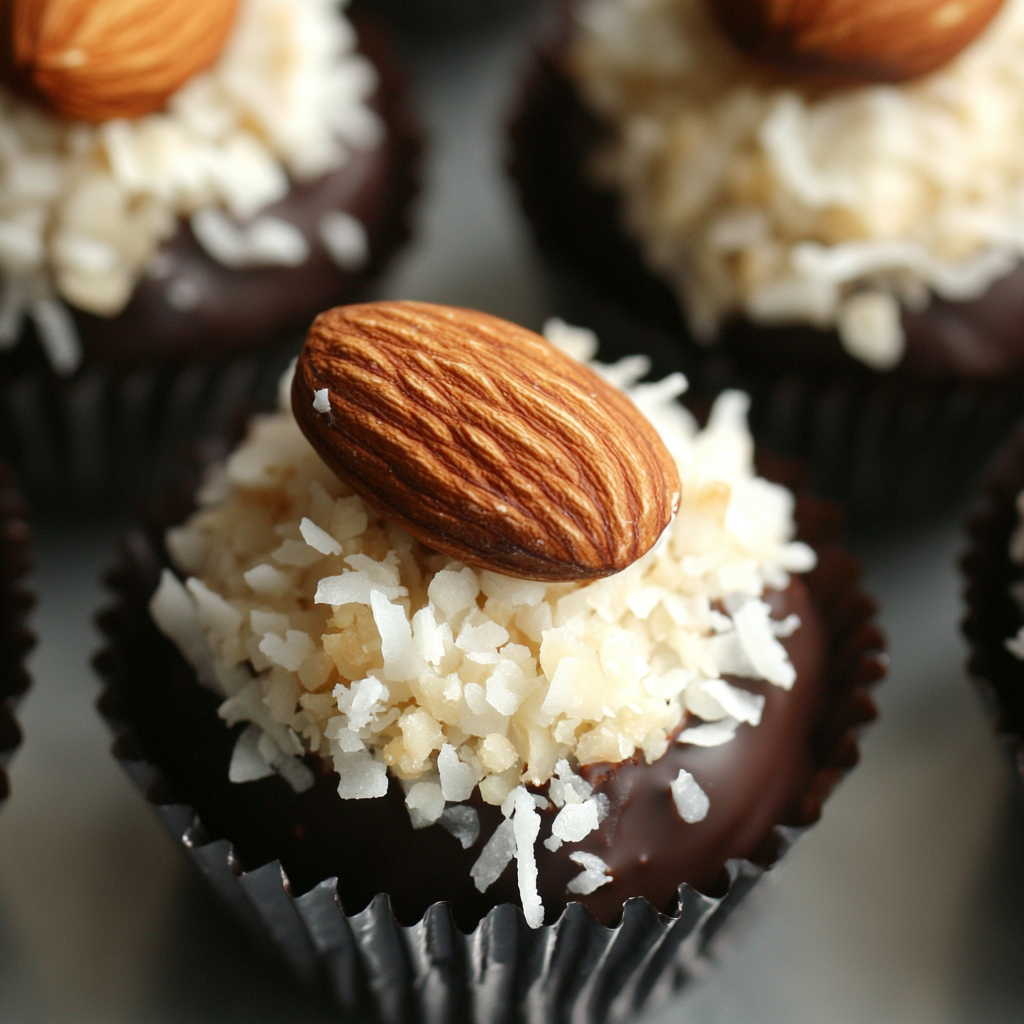
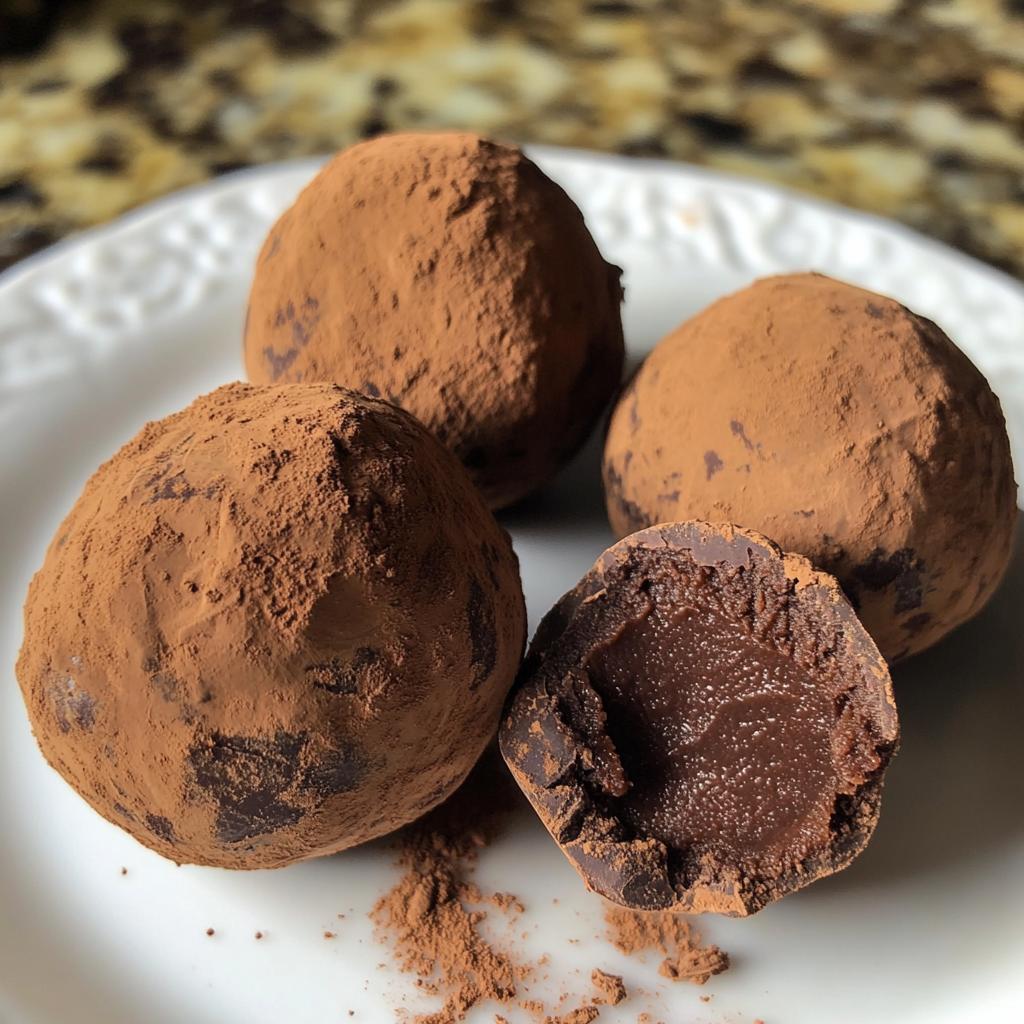
Variations of Birthday Cake Truffles
The beauty of these truffles? You can dress them up a million ways! My family’s obsessed with chocolate cake and peanut butter frosting – it tastes like a candy bar in truffle form. Lemon cake with cream cheese frosting makes the perfect spring treat. And don’t get me started on holiday versions – red and green sprinkles for Christmas, pastels for Easter… the possibilities are endless!
Storing & Serving Birthday Cake Truffles
Here’s how I keep these little gems fresh and fabulous:
- Fridge life: Store in an airtight container with parchment between layers – they’ll stay perfect for up to a week (if they last that long in your house!)
- Freezer magic: These freeze beautifully for a month – just thaw in the fridge before serving
- Serving tip: I always serve them chilled – that cool, creamy center against the crisp chocolate shell is pure heaven!
Birthday Cake Truffles FAQs
I get asked these questions all the time – here are my tried-and-true answers!
- Can I use store-bought cake? Absolutely! Day-old bakery cake works great – just make sure it’s slightly dry. Fresh, moist cakes can make rolling tricky.
- Why coconut oil in the chocolate? It gives that perfect silky flow for dipping. Without it, the chocolate can get too thick and clumpy.
- Help – my mixture’s too crumbly! No panic – just add more frosting, a teaspoon at a time, until it holds together when squeezed.
Nutritional Information
Just a heads up – these numbers can vary depending on your exact ingredients, but here’s the general scoop per truffle: about 120 calories, 5g fat, and 18g carbs. Not bad for such a decadent little bite!
Share Your Birthday Cake Truffles
I’d love to see your creations! Tag me @MyKitchenAdventures or use #BirthdayCakeTruffles – your photos might just inspire someone else’s celebration!
Print
Magical Birthday Cake Truffles in 3 Easy Steps
- Total Time: 1 hour 15 minutes (includes cooling and freezing)
- Yield: 24 truffles 1x
- Diet: Vegetarian
Description
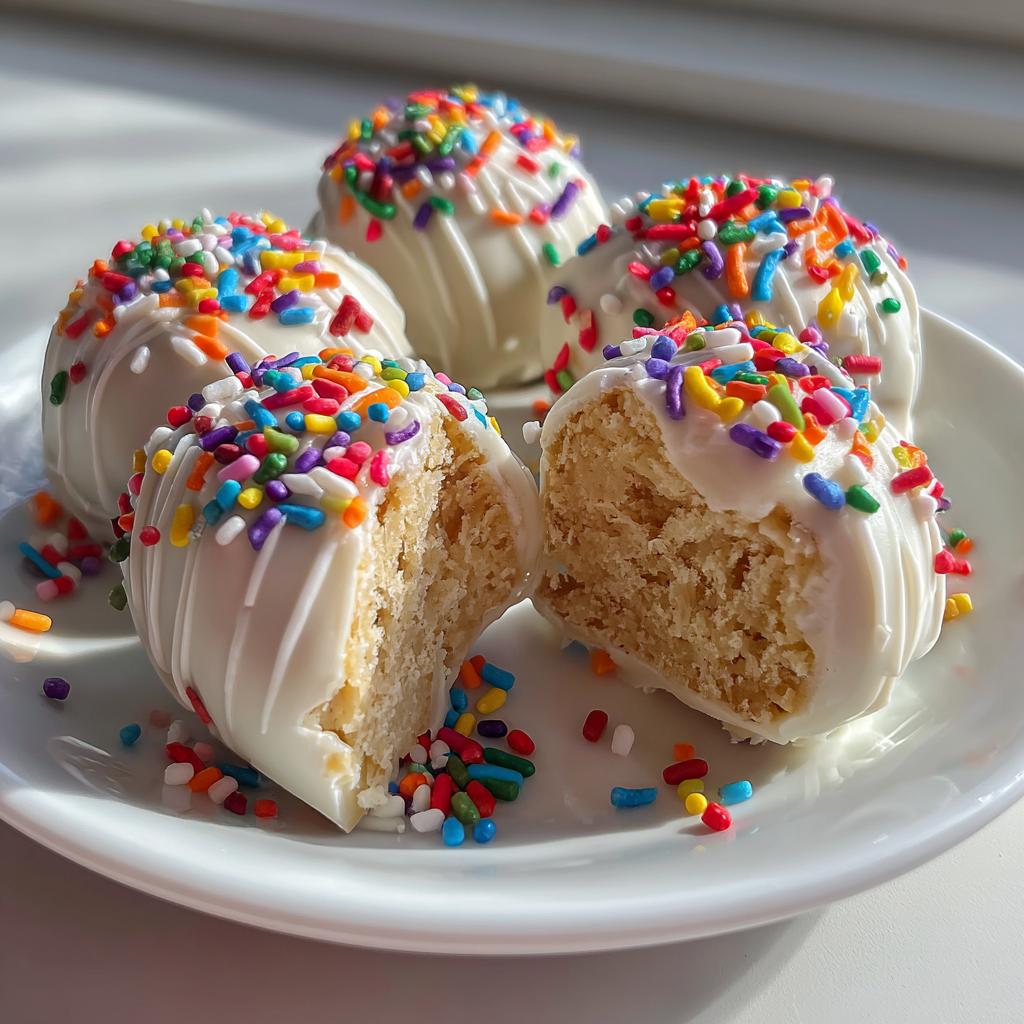
Birthday Cake Truffles are bite-sized treats made with cake crumbs, frosting, and colorful sprinkles. They are dipped in chocolate for a rich, festive dessert.
Ingredients
- 1 box vanilla cake mix (plus ingredients listed on the box)
- 1/2 cup vanilla frosting
- 1/2 cup rainbow sprinkles
- 2 cups white chocolate chips
- 1 tbsp coconut oil
Instructions
- Bake the cake according to the package instructions and let it cool completely.
- Crumble the cake into fine crumbs in a large bowl.
- Mix in the frosting until the mixture holds together when pressed.
- Roll the mixture into small balls (about 1-inch in diameter).
- Place the balls on a baking sheet lined with parchment paper and freeze for 30 minutes.
- Melt the white chocolate chips with coconut oil in a microwave-safe bowl, stirring every 30 seconds until smooth.
- Dip each cake ball into the melted chocolate, letting excess drip off.
- Roll in sprinkles before the chocolate sets.
- Place back on the baking sheet and let the chocolate harden.
Notes
- Use leftover cake for quicker preparation.
- Store truffles in an airtight container in the fridge for up to a week.
- For a richer flavor, use dark or milk chocolate instead of white chocolate.
- Prep Time: 20 minutes
- Cook Time: 25 minutes
- Category: Dessert
- Method: Baking, No-Bake
- Cuisine: American
Nutrition
- Serving Size: 1 truffle
- Calories: 120
- Sugar: 10g
- Sodium: 85mg
- Fat: 5g
- Saturated Fat: 3g
- Unsaturated Fat: 2g
- Trans Fat: 0g
- Carbohydrates: 18g
- Fiber: 0g
- Protein: 1g
- Cholesterol: 5mg
Keywords: birthday cake truffles, cake balls, no-bake dessert, party treats
")
")
")
")