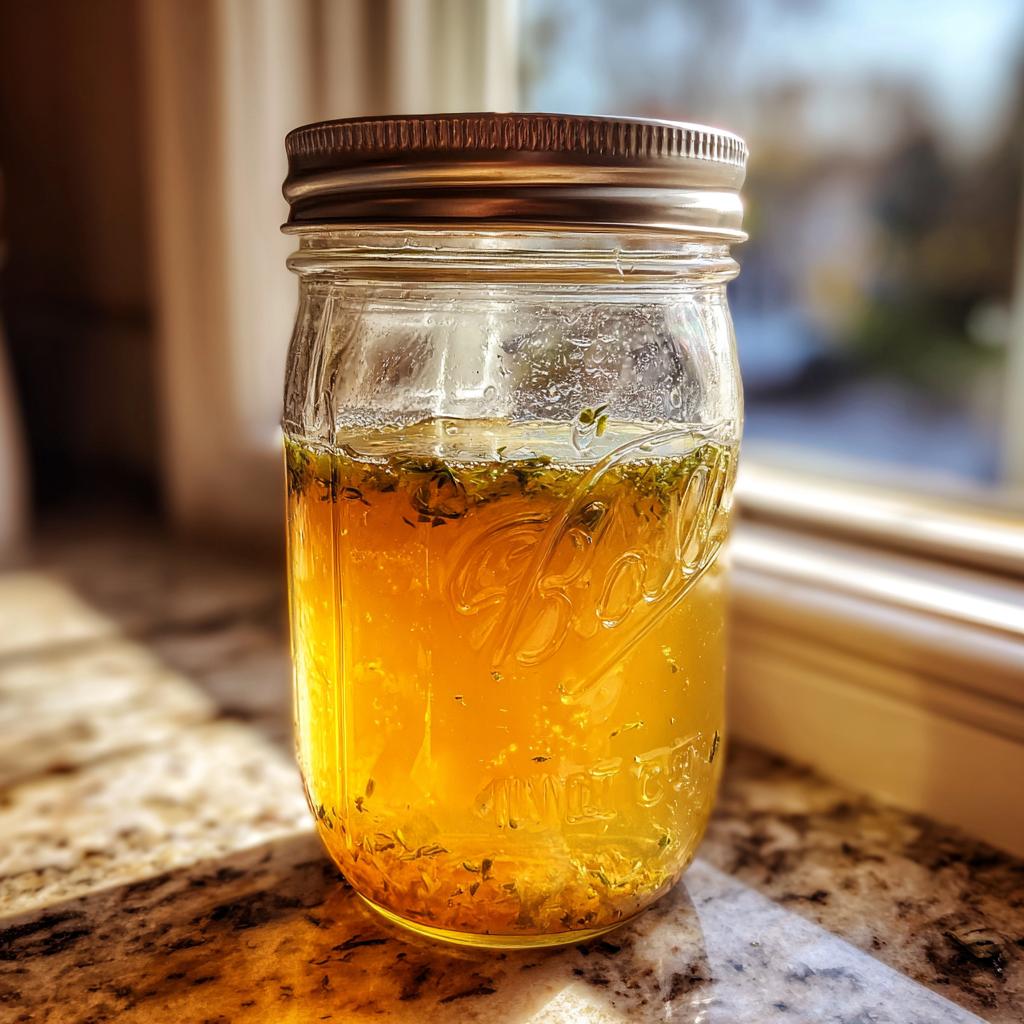
There’s nothing quite like the smell of homemade chicken broth simmering on the stove – it’s like a warm hug in a pot! I remember my grandmother’s kitchen always having jars of golden broth lined up in the pantry, ready to transform any meal into something special. That’s why I’m so passionate about canning chicken broth recipes – they let you capture all that homemade goodness to use whenever you need it.
Making your own broth means you control exactly what goes in (and what doesn’t!). No mystery ingredients, no excessive sodium – just pure, nourishing flavor. But here’s the real magic: canning lets you preserve that freshness so you’ve always got it on hand. Imagine pulling out a jar of your own rich, golden broth in the middle of winter when you’re making soup or gravy. It’s like bottling up comfort!
I’ll never forget the first time I successfully canned my own broth. That satisfying “pop” of the sealing jars made me feel like some kind of kitchen wizard! Now I make big batches whenever I roast a chicken – those bones are way too valuable to toss. This recipe is my tried-and-true method for creating shelf-stable broth that puts store-bought to shame.
Why You’ll Love These Canning Chicken Broth Recipes
Once you start canning your own chicken broth, you’ll never go back to those overpriced, bland store-bought versions. Here’s why this recipe is about to become your new kitchen staple:
- Shelf-stable gold: No more freezer burn or last-minute broth runs! Properly canned broth sits happily in your pantry for up to a year, ready to transform weeknight meals.
- Flavor control: You’re the boss of your broth—add extra garlic, skip the salt, or throw in those herb stems. The taste is 100% yours, no mysterious “natural flavors” here.
- Budget magic: Those chicken bones you’d normally toss? They’re about to become liquid gold. This recipe turns kitchen scraps into about 6 pints of broth for pennies.
- Zero-waste win: I get such satisfaction knowing every bit of the chicken gets used. The bones, the veggie scraps—it all goes into the pot instead of the trash.
Trust me, once you taste your own rich, homemade broth in the middle of January, you’ll be hooked. Plus, those neatly lined-up jars in your pantry? Pure pride.
Essential Equipment for Canning Chicken Broth
Alright, let’s talk gear! Canning chicken broth isn’t complicated, but you do need a few key tools to do it safely and easily. Here’s what’s sitting on my counter every time I make a batch:
- Pressure canner: This is non-negotiable – broth must be pressure canned for safety. My trusty 16-quart model has lasted me years.
- Glass jars & new lids: Pint or quart mason jars work best, and always use brand-new lids for a proper seal. Those old ones just won’t cut it.
- Canning funnel: Saves so much mess! The wide mouth fits perfectly over jars so you don’t dribble hot broth everywhere.
- Magnetic lid lifter: My secret weapon for grabbing those sterilized lids without burning my fingers.
- Jar lifter: Essential for safely moving hot jars in and out of the canner. No kitchen towels – they’re not safe!
That’s really all you need to get started. I keep my canning tools in one box under the counter so they’re always ready when broth-making inspiration strikes!
Ingredients for Canning Chicken Broth Recipes
Let’s gather the good stuff! The beauty of this recipe is its simplicity – just a handful of ingredients create magic in the jar. Here’s exactly what you’ll need:
- 4 lbs chicken bones (fresh or frozen, but fresh gives the best flavor)
- 2 carrots, chopped into 1-inch chunks (no need to peel!)
- 2 celery stalks, leaves and all, roughly chopped
- 1 onion, quartered (skin on for golden color!)
- 2 garlic cloves, smashed (no need to peel)
- 1 tbsp kosher salt (or 2 tsp fine sea salt)
- 1 tsp black peppercorns
- 2 bay leaves (my grandma always said “odd numbers taste better” – I use 3)
- 8 cups cold water (enough to cover by 2 inches)
A quick tip from my canning adventures: measure your salt carefully! Too little and the flavor falls flat, too much and you can’t fix it later. I prefer kosher salt for its clean taste, but sea salt works beautifully too.
Ingredient Substitutions
No carrots? No problem! Here’s how to improvise when your fridge isn’t cooperating:
- Turkey bones work wonderfully if that’s what you’ve got – they make a richer, deeper broth
- Leeks can stand in for onions (use the white and light green parts)
- Throw in parsley stems, thyme sprigs, or rosemary for herby variations
- No fresh garlic? 1/2 tsp garlic powder does the trick
Really, the only rule is: if it smells good together, it’ll taste good in your broth! Just avoid starchy veggies like potatoes – they can make your broth cloudy.
Step-by-Step Canning Chicken Broth Instructions
Okay, let’s make some magic happen! Follow these steps carefully for foolproof canned chicken broth every time. I’ve learned through trial and (many) errors that patience pays off here – don’t rush the process.
- Combine all ingredients in your largest stockpot. The bones and veggies should be completely submerged under about 2 inches of cold water.
- Bring to a rolling boil over high heat, then immediately reduce to the gentlest simmer you can manage. Tiny bubbles are what we want!
- Simmer uncovered for 4 hours, resisting the urge to stir. Just peek occasionally to make sure the water level stays above the bones.
- Skim the surface every hour or so with a spoon to remove any foam or fat that rises to the top.
- Strain carefully through a fine mesh sieve lined with cheesecloth into a clean pot. This removes all the tiny bits for crystal-clear broth.
- Let the broth cool slightly so the fat rises to the top, then skim off as much as possible with a spoon or fat separator.
Preparing the Broth
This is where the transformation happens! That cloudy, fatty liquid becomes pure golden elixir. Don’t skip skimming – removing fat ensures better preservation and cleaner flavor. I like to chill my broth overnight sometimes; the fat hardens on top for easy removal. And please, fish out those bay leaves before canning – they get bitter if processed under pressure. Your broth should be crystal clear with that gorgeous amber color before it goes into jars.
Canning Process
Here’s where we make it shelf-stable! Sterilize everything – jars, lids, tools – by boiling for 10 minutes. Keep everything hot until use. Fill jars with hot broth, leaving 1-inch headspace (I use a chopstick to measure). Wipe rims perfectly clean with vinegar – any residue prevents sealing. Screw lids on fingertip-tight – not too loose, not too tight. Process pints for 25 minutes in your pressure canner at 10 psi (adjust for altitude!). After processing, turn off heat and let pressure drop naturally – no quick releases! Remove jars carefully and let them cool undisturbed for 24 hours before checking seals. That satisfying “pop” means success!
Pro Tips for Perfect Canning Chicken Broth
After years of trial and error (and a few messy kitchen experiments), I’ve gathered these golden rules for canning chicken broth like a pro:
- Start with cold water – It extracts maximum flavor from the bones as it gradually heats up. I learned this the hard way after a batch of weak broth!
- Skip the potatoes – Starchy veggies make your broth cloudy and can affect preservation. Stick to the classic carrot-celery-onion trio.
- A splash of vinegar helps – 1 tablespoon per gallon draws minerals from bones and adds acidity for safety. You won’t taste it, I promise.
- Keep the simmer gentle – Boiling too hard makes broth cloudy. I watch for just a few lazy bubbles breaking the surface.
- Label everything – Write the date on lids with permanent marker. Future you will thank you when reaching for that perfect broth six months later!
Oh, and one more thing – always make extra! You’ll be amazed how quickly those jars disappear once you start cooking with them.
Storing and Using Your Canned Chicken Broth
Now that you’ve got those beautiful jars of homemade broth, let’s talk about keeping them perfect until you’re ready to use them! Store sealed jars in a cool, dark place like a pantry or basement – heat and light are flavor’s worst enemies. Properly canned broth stays good for up to 1 year, though I always use mine within 6 months for peak flavor.
When it’s time to cook, just pop open a jar and use it straight from the pantry – no thawing needed! The broth separates as it sits, so give it a good shake first. I love using mine for:
- Weeknight soups that taste like they simmered all day
- Flavor-boosting rice or quinoa instead of water
- Delectable pan sauces and gravies
- Poaching chicken or vegetables for extra oomph
Pro tip: If a jar doesn’t seal properly, no worries! Just refrigerate and use within 5 days, or freeze for up to 3 months. That broth is too good to waste!
Nutrition Information
Just a heads up – these nutrition numbers can vary based on your specific ingredients and how much fat you skim off! The values below are for 1 cup of my basic broth recipe, but your homemade version might be a little different (that’s the beauty of DIY cooking!).
Here’s what you’re getting in each golden sip: 40 calories, 5g protein, and just 1g of fat. It’s packed with minerals from the bones but keeps sodium reasonable at 300mg per serving. Perfect for light cooking or sipping straight when you need some warm comfort!
Frequently Asked Questions
Let me answer those burning questions I always get about canning chicken broth! First up: “Can I use frozen bones?” Absolutely! In fact, I keep a freezer bag just for collecting chicken bones between broth-making sessions. Just thaw them completely before using – frozen bones lower the water temperature too much at the start.
“How long does canned broth last?” Properly processed jars stay good for up to a year in a cool, dark pantry. But honestly? Mine never last that long! The flavor is best within 6 months though. You’ll know it’s still good if the seal remains tight and the liquid looks clear.
“Why pressure canning vs water bath?” This is crucial – broth is low-acid, so water bath canning won’t kill botulism spores. Pressure canning reaches the high temperatures needed for safety (240°F at 10 psi). It’s the only safe method approved by the USDA for preserving broth. For more information on safe canning practices, consult the FoodSafety.gov canning guidelines.
Safety Questions
I know botulism sounds scary, but proper pressure canning makes it a non-issue! Always:
- Check for broken seals, cloudiness, or off smells before using
- Boil canned broth for 10 minutes if storing over a year
- Adjust psi for altitudes over 1,000 ft (my manual says +1 psi per 2,000 ft)
When in doubt? Throw it out! But honestly, I’ve never had a spoiled jar following these steps.
Print
Simple Canning Chicken Broth Recipe in 6 Easy Steps
- Total Time: 4 hrs 20 mins
- Yield: 6 pints 1x
- Diet: Low Fat
Description
Simple method for canning homemade chicken broth to preserve freshness and flavor.
Ingredients
- 4 lbs chicken bones
- 2 carrots, chopped
- 2 celery stalks, chopped
- 1 onion, quartered
- 2 garlic cloves
- 1 tbsp salt
- 1 tsp black peppercorns
- 2 bay leaves
- 8 cups water
Instructions
- Combine all ingredients in a large stockpot.
- Bring to boil, then reduce heat to simmer for 4 hours.
- Strain broth through fine mesh sieve.
- Skim off fat from surface.
- Sterilize canning jars and lids.
- Fill jars with hot broth, leaving 1-inch headspace.
- Process jars in pressure canner at 10 psi for 25 minutes.
- Remove jars and let cool for 24 hours.
- Check seals before storage.
Notes
- Use fresh ingredients for best flavor.
- Adjust salt to taste.
- Store sealed jars in cool, dark place.
- Consume within 1 year.
- Prep Time: 20 mins
- Cook Time: 4 hrs
- Category: Preserving
- Method: Canning
- Cuisine: American
Nutrition
- Serving Size: 1 cup
- Calories: 40
- Sugar: 1g
- Sodium: 300mg
- Fat: 1g
- Saturated Fat: 0g
- Unsaturated Fat: 0.5g
- Trans Fat: 0g
- Carbohydrates: 2g
- Fiber: 0g
- Protein: 5g
- Cholesterol: 10mg
Keywords: homemade chicken broth, canning recipes, preserved broth


