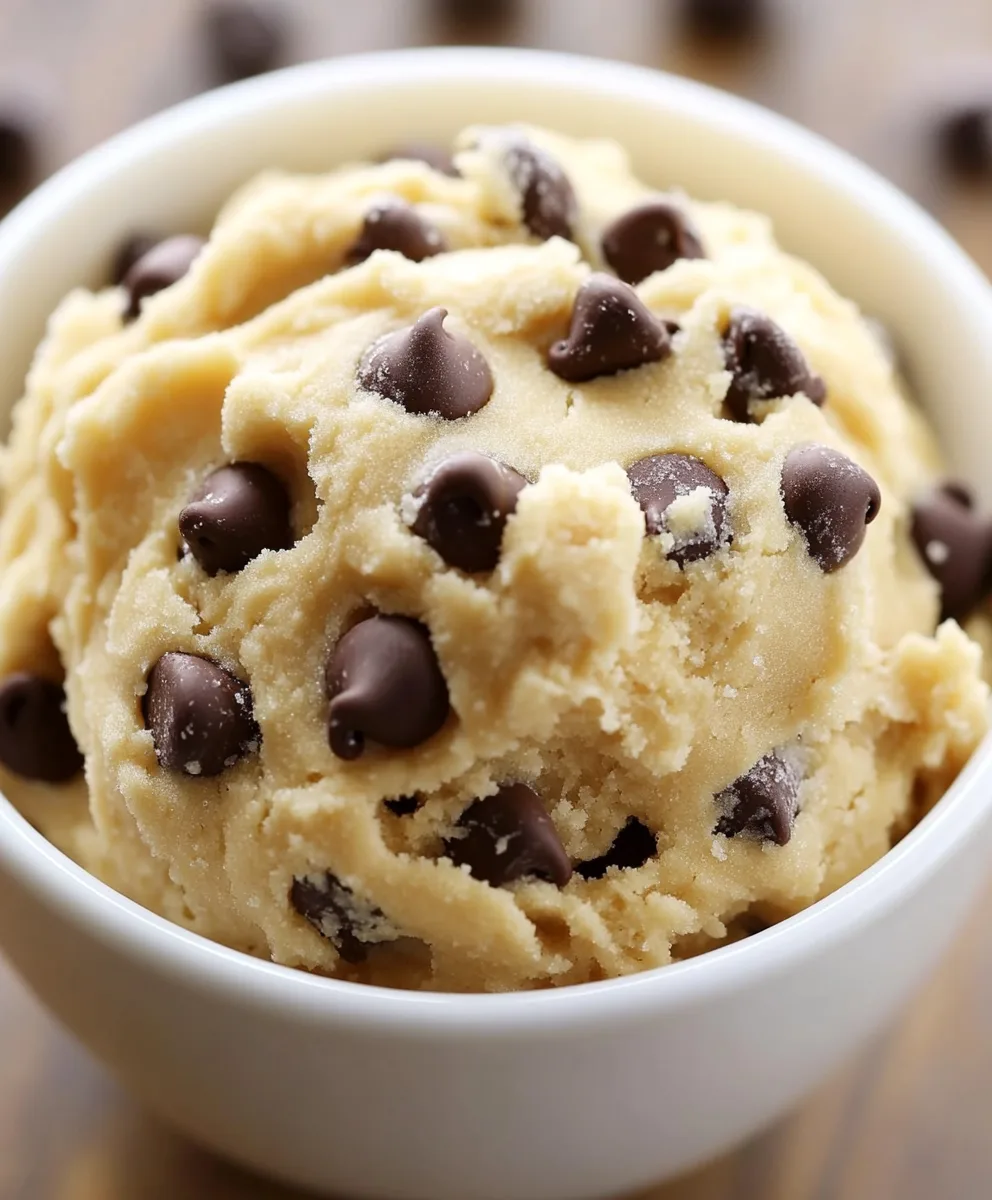
Ice cream is a beloved treat enjoyed by many, and cookies and cream ice cream holds a special place in our hearts. This delightful dessert combines the rich flavors of creamy vanilla with the satisfying crunch of chocolate sandwich cookies. What makes this recipe even more appealing is that it requires no ice cream maker! You can whip up this delicious treat right in your kitchen with just a few simple ingredients.
Ingredients for Cookies And Cream Ice Cream (No Churn)
Essential Ingredients Overview
To create your own cookies and cream ice cream, you’ll need just a few essential ingredients. Each one plays a vital role in achieving that creamy, dreamy texture and delicious flavor. Here’s a quick overview of what you’ll need:
- Heavy Cream: 2 cups of cold heavy cream is the star of this recipe. It whips up beautifully, creating a light and airy base for your ice cream.
- Sweetened Condensed Milk: One 14 oz can of sweetened condensed milk adds sweetness and creaminess. It’s a key ingredient that helps to create that rich flavor.
- Vanilla Extract: Just 1 teaspoon of vanilla extract enhances the overall flavor. It adds a lovely aroma and depth to the ice cream.
- Crushed Chocolate Sandwich Cookies: 1 ½ cups of crushed cookies (about 10-12 cookies) provide the signature crunch and chocolatey goodness that makes this dessert so special.
These ingredients come together to create a delightful treat that’s sure to please everyone. The combination of the creamy base and crunchy cookie bits is simply irresistible!
Optional Add-Ins for Extra Flavor
If you want to take your cookies and cream ice cream to the next level, consider adding some optional ingredients. Here are a few ideas to enhance the flavor:
- Chocolate Chips: Add a handful of chocolate chips for an extra chocolatey bite. They melt slightly, creating a delicious surprise in every scoop.
- Peanut Butter: Swirl in some creamy peanut butter for a nutty twist. It pairs wonderfully with the chocolate cookies.
- Mint Extract: For a refreshing change, add a few drops of mint extract. This gives your ice cream a cool, minty flavor that’s perfect for summer.
- Caramel Sauce: Drizzle some caramel sauce into the mixture before freezing. This adds a sweet, gooey layer that complements the cookies beautifully.
Feel free to get creative! The beauty of this no-churn recipe is that you can customize it to suit your taste. Whether you stick to the classic version or experiment with new flavors, you’re sure to create a delicious treat that everyone will love.
Tools Needed for Cookies And Cream Ice Cream (No Churn)
Kitchen Equipment Essentials
Before you dive into making your cookies and cream ice cream, it’s important to gather the right tools. Having the right kitchen equipment can make the process smoother and more enjoyable. Here’s a list of essential tools you’ll need:
- Mixing Bowls: You’ll need at least two mixing bowls. One for whipping the cream and another for combining the sweetened condensed milk and vanilla extract.
- Electric Mixer: An electric mixer is crucial for whipping the heavy cream. It saves time and ensures you achieve those stiff peaks easily.
- Spatula: A rubber spatula is perfect for folding the whipped cream into the condensed milk mixture. It helps maintain the light texture of the whipped cream.
- Freezer-Safe Container: Choose a container that can hold your ice cream mixture. It should be airtight to prevent freezer burn.
With these tools in hand, you’ll be well-prepared to create your delicious no-churn ice cream. Each piece of equipment plays a vital role in ensuring your dessert turns out perfectly!
Recommended Mixing Tools
In addition to the essential kitchen equipment, having the right mixing tools can enhance your ice cream-making experience. Here are some recommended tools that can make your task easier:
- Whisk: If you don’t have an electric mixer, a whisk can work too! It may take a bit longer, but it’s a great workout for your arms.
- Measuring Cups and Spoons: Accurate measurements are key to a successful recipe. Use measuring cups for the heavy cream and sweetened condensed milk, and measuring spoons for the vanilla extract.
- Ice Cream Scoop: An ice cream scoop makes serving your homemade treat a breeze. It helps create perfectly rounded scoops for serving.
- Plastic Wrap or Lid: To cover your container while the ice cream freezes, use plastic wrap or a lid. This keeps your ice cream fresh and prevents it from absorbing other odors in the freezer.
Having these recommended mixing tools will not only make the process easier but also more enjoyable. You’ll be ready to whip up a batch of cookies and cream ice cream in no time!
Step-by-Step Preparation of Cookies And Cream Ice Cream (No Churn)
Step 1: Whip the Cream
Start by pouring the cold heavy cream into a large mixing bowl. Using an electric mixer, whip the cream on medium-high speed. Keep mixing until stiff peaks form. This usually takes about 3-5 minutes. You’ll know it’s ready when the cream holds its shape and looks fluffy. This step is crucial for achieving that light and airy texture in your ice cream.
Step 2: Combine the Base
In a separate bowl, combine the sweetened condensed milk and vanilla extract. Mix these two ingredients well until they are fully blended. The sweetened condensed milk adds a rich sweetness, while the vanilla extract enhances the overall flavor. This mixture will serve as the base for your ice cream.
Step 3: Fold in the Whipped Cream
Now it’s time to combine the two mixtures. Gently fold the whipped cream into the sweetened condensed milk mixture using a spatula. Be careful during this step! You want to maintain the lightness of the whipped cream. Folding means you should scoop from the bottom and gently lift it over the top. This keeps the air in the whipped cream, ensuring your ice cream stays fluffy.
Step 4: Add the Cookies
Once the whipped cream is fully incorporated, it’s time to add the crushed chocolate sandwich cookies. Fold them into the mixture gently, ensuring they are evenly distributed. The cookies will add a delightful crunch and chocolatey flavor to your ice cream. Make sure to mix just enough so that the cookie pieces are spread throughout the base.
Step 5: Transfer to a Container
Next, pour the ice cream mixture into a freezer-safe container. Use a spatula to smooth the top, making it even. Cover the container with a lid or plastic wrap to keep the ice cream fresh. This step is important to prevent ice crystals from forming while it freezes.
Step 6: Freeze
Place the container in the freezer for at least 4-6 hours. This allows the ice cream to firm up properly. If you can wait longer, that’s even better! The longer it freezes, the better the texture will be. Just remember to resist the urge to open the freezer too often, as this can affect the freezing process.
Step 7: Serve
Once your cookies and cream ice cream is frozen and firm, it’s time to serve! Scoop the ice cream into bowls or cones. For an extra touch, you can sprinkle some reserved crushed cookies on top. This adds a nice crunch and enhances the cookies and cream flavor. Enjoy your delicious homemade treat with family and friends!
Serving Suggestions for Cookies And Cream Ice Cream (No Churn)
Creative Ways to Serve
Once your cookies and cream ice cream is ready, the fun of serving begins! There are many creative ways to present this delightful treat. Here are some ideas to make your dessert even more special:
- Ice Cream Sundae: Create a classic ice cream sundae by scooping your cookies and cream ice cream into a bowl. Top it with whipped cream, chocolate syrup, and a cherry for a fun and festive look.
- Ice Cream Sandwiches: Use two chocolate cookies to make ice cream sandwiches. Simply scoop the ice cream between the cookies and press gently. Roll the edges in crushed cookies for an extra crunch!
- Milkshake: Blend a scoop of cookies and cream ice cream with milk to create a delicious milkshake. Serve it in a tall glass with a straw for a refreshing treat.
- Waffle Cones: Serve your ice cream in waffle cones for a classic ice cream shop experience. You can even dip the tops in melted chocolate and sprinkle with crushed cookies for added flair.
These serving ideas not only enhance the presentation but also add a fun twist to your cookies and cream ice cream. Get creative and enjoy the process of serving this delightful dessert!
Pairing with Other Desserts
Cookies and cream ice cream pairs wonderfully with a variety of other desserts. Here are some delicious combinations to consider:
- Brownies: Serve a scoop of cookies and cream ice cream on top of warm brownies. The contrast of warm and cold is simply divine!
- Fruit: Fresh berries, like strawberries or raspberries, add a refreshing touch. The tartness of the fruit balances the sweetness of the ice cream.
- Chocolate Cake: A slice of rich chocolate cake topped with cookies and cream ice cream makes for an indulgent dessert experience.
- Pie: Pair your ice cream with a slice of pie, such as chocolate cream or pecan pie. The creamy texture of the ice cream complements the flaky crust beautifully.
These pairing suggestions will elevate your dessert game and impress your guests. Whether you enjoy it on its own or alongside other treats, cookies and cream ice cream is sure to be a hit!
Tips for Perfect Cookies And Cream Ice Cream (No Churn)
Common Mistakes to Avoid
Making cookies and cream ice cream is a fun and rewarding experience. However, there are a few common mistakes that can affect the final result. Here are some tips to help you avoid these pitfalls:
- Over-whipping the Cream: It’s important to whip the heavy cream just until stiff peaks form. If you whip it too much, it can turn into butter. Keep an eye on it while mixing!
- Not Folding Gently: When combining the whipped cream with the condensed milk mixture, be gentle. Over-mixing can deflate the whipped cream, leading to a denser ice cream.
- Using Warm Ingredients: Make sure your heavy cream is cold before whipping. Warm ingredients can lead to a less creamy texture. Chill your mixing bowls if possible!
- Skipping the Freezing Time: Patience is key! Allow the ice cream to freeze for at least 4-6 hours. If you try to scoop it too early, it may be too soft.
By avoiding these common mistakes, you’ll be on your way to creating the perfect cookies and cream ice cream that everyone will love!
Storage Tips for Leftover Ice Cream
If you find yourself with leftover cookies and cream ice cream, you’ll want to store it properly to maintain its delicious flavor and texture. Here are some helpful storage tips:
- Airtight Container: Always store your ice cream in an airtight container. This prevents freezer burn and keeps the ice cream fresh for longer.
- Cover with Plastic Wrap: For extra protection, press a piece of plastic wrap directly onto the surface of the ice cream before sealing the container. This helps to minimize air exposure.
- Label and Date: If you’re storing your ice cream for a while, label the container with the date. This way, you’ll know how long it’s been in the freezer.
- Use Within Two Weeks: For the best flavor and texture, try to consume your cookies and cream ice cream within two weeks. After that, it may start to lose its quality.
By following these storage tips, you can enjoy your homemade cookies and cream ice cream for days to come!
FAQs About Cookies And Cream Ice Cream (No Churn)
Can I use different types of cookies?
Absolutely! One of the best things about this cookies and cream ice cream recipe is its versatility. While chocolate sandwich cookies are traditional, you can experiment with other types. For instance, try using mint chocolate cookies for a refreshing twist or even peanut butter cookies for a nutty flavor. Just remember to crush them into small pieces so they mix well into the ice cream base. The possibilities are endless, and you can create a unique flavor that suits your taste!
How long does the ice cream last in the freezer?
Your homemade cookies and cream ice cream can last in the freezer for about two weeks when stored properly. To keep it fresh, make sure to use an airtight container and cover the surface with plastic wrap. This helps prevent freezer burn and keeps the ice cream tasting delicious. After two weeks, the flavor and texture may start to decline, so it’s best to enjoy it within that time frame!
Is it possible to make this recipe dairy-free?
Yes, you can make a dairy-free version of cookies and cream ice cream! To do this, substitute the heavy cream with a dairy-free alternative, such as coconut cream or almond milk. For the sweetened condensed milk, look for dairy-free versions available in stores or make your own using coconut milk and sugar. Just keep in mind that the texture and flavor may vary slightly, but you’ll still end up with a delicious treat!
What can I do if my ice cream is too hard?
If your cookies and cream ice cream turns out too hard, don’t worry! This can happen if it’s been in the freezer for too long or if the mixture wasn’t sweet enough. To fix it, simply let the ice cream sit at room temperature for about 10-15 minutes before scooping. This will soften it enough to make serving easier. If you find it consistently too hard, consider adding a bit more sweetened condensed milk next time, as it helps create a creamier texture.
Conclusion: Enjoying Your Cookies And Cream Ice Cream (No Churn)
In conclusion, making cookies and cream ice cream (no churn) is a delightful and rewarding experience. This simple recipe allows you to create a creamy, delicious treat right in your own kitchen. With just a few ingredients and no special equipment required, you can whip up a batch that rivals any store-bought version.
Print
Cookies And Cream Ice Cream (No Churn) Made Easy!
- Total Time: 4-6 hours (freezing time)
- Yield: Approximately 6 servings
- Diet: Vegetarian
Description
A delightful no-churn cookies and cream ice cream that combines creamy vanilla with crunchy chocolate sandwich cookies.
Ingredients
- Heavy Cream: 2 cups of cold heavy cream
- Sweetened Condensed Milk: One 14 oz can
- Vanilla Extract: 1 teaspoon
- Crushed Chocolate Sandwich Cookies: 1 ½ cups (about 10-12 cookies)
Instructions
- Pour the cold heavy cream into a large mixing bowl and whip on medium-high speed until stiff peaks form (about 3-5 minutes).
- In a separate bowl, combine the sweetened condensed milk and vanilla extract, mixing well.
- Gently fold the whipped cream into the sweetened condensed milk mixture using a spatula.
- Add the crushed chocolate sandwich cookies and fold them into the mixture gently.
- Pour the ice cream mixture into a freezer-safe container and smooth the top.
- Cover the container with a lid or plastic wrap and freeze for at least 4-6 hours.
- Once frozen, scoop the ice cream into bowls or cones and serve.
Notes
- Optional add-ins include chocolate chips, peanut butter, mint extract, and caramel sauce.
- Store leftover ice cream in an airtight container for up to two weeks.
- Let the ice cream sit at room temperature for 10-15 minutes if it’s too hard to scoop.
- Prep Time: 15 minutes
- Cook Time: 0 minutes
- Category: Dessert
- Method: No Churn
- Cuisine: American
Nutrition
- Serving Size: 1/2 cup
- Calories: 250
- Sugar: 20g
- Sodium: 50mg
- Fat: 15g
- Saturated Fat: 9g
- Unsaturated Fat: 4g
- Trans Fat: 0g
- Carbohydrates: 30g
- Fiber: 1g
- Protein: 3g
- Cholesterol: 50mg
Keywords: cookies and cream, ice cream, no churn, dessert, homemade


")
")
")
")