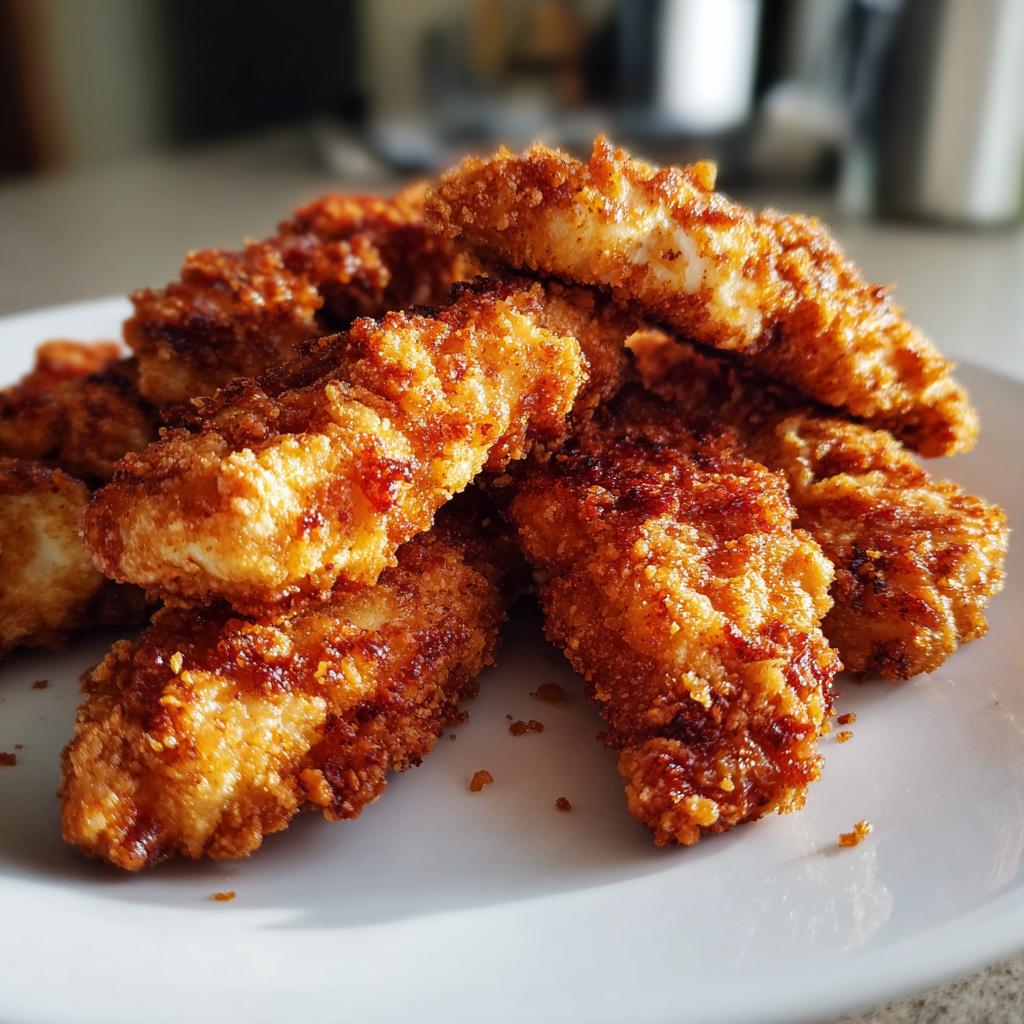
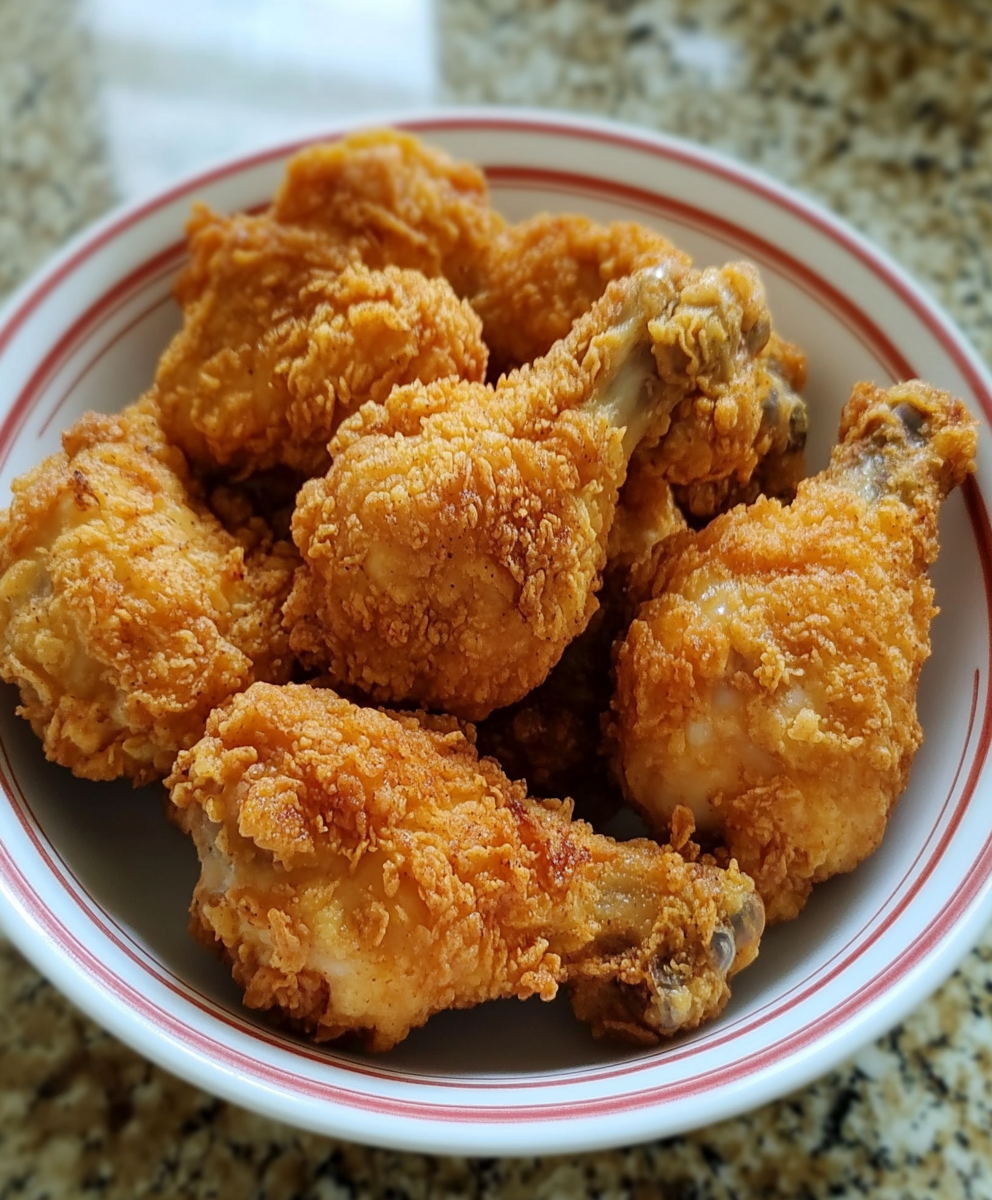
There’s something magical about biting into a perfectly crispy chicken tender – that golden crunch giving way to juicy, flavorful meat inside. My family goes absolutely wild for these homemade tenders, and I’ve lost count of how many batches I’ve made over the years. The secret? It’s all in the simple technique and that irresistible breadcrumb coating that sticks to every nook of the chicken.
I still remember the first time I nailed this recipe – my then-picky toddler devoured three tenders in one sitting and actually asked for more! That’s when I knew I’d struck gold. Now, whether it’s game night, a quick weeknight dinner, or just when those chicken tender cravings hit (you know the ones), this recipe never fails to deliver that satisfying crunch we all love.
What makes these tenders special isn’t just their deliciousness – it’s how ridiculously easy they are to make. With just a few basic ingredients and about 20 minutes, you can have hot, crispy chicken tenders that put any frozen version to shame. Trust me, once you try this method, you’ll never go back to store-bought again!
Why You’ll Love These Chicken Tenders
These chicken tenders check all the boxes for the perfect homemade meal. Here’s why they’ve become my absolute go-to:
- Crazy quick: From fridge to plate in under 30 minutes (yes, really!)
- That satisfying crunch: The golden breadcrumb coating stays crispy for ages
- Kid-approved magic: Even picky eaters devour these like candy
- Better than takeout: Fresh, juicy chicken with zero mystery ingredients
Perfect for Busy Weeknights
When I’m racing against the clock after work, these tenders save me every time. The prep is so simple – I often have everything coated before my oven finishes preheating! Plus, they fry up in just minutes.
Versatile Serving Options
My family eats these every which way – piled on salads, stuffed in warm pitas with tzatziki, or sliced over pasta. They’re equally amazing as game-day appetizers with dipping sauces. Leftovers? Those never last long in our house!
Ingredients for Crispy Chicken Tenders
The beauty of these chicken tenders lies in their simplicity – just pantry staples transformed into something extraordinary. Here’s exactly what you’ll need:
- 1 lb chicken tenders: Look for plump, evenly-sized pieces (or slice chicken breasts into strips)
- 1 cup all-purpose flour: Tightly packed for proper coating – this creates the perfect base layer
- Seasoning blend: 1 tsp each of salt, black pepper, paprika, and garlic powder (not garlic salt!)
- Wet mixture: 1 egg + 1/2 cup milk whisked until smooth
- 1 cup breadcrumbs: Plain or panko both work – I prefer plain for that classic diner-style crunch
- Oil for frying: Vegetable or canola oil works best – you’ll need about 1 inch depth in your pan
A quick tip from my many trials: measure your flour by spooning it into the cup and leveling off – no packing! This prevents a doughy coating. And that garlic powder? It makes all the difference for flavor depth without overpowering the chicken.
How to Make Chicken Tenders
Okay, friends – here’s where the magic happens! Making perfect chicken tenders is all about setting up your stations and nailing the frying time. Don’t worry if you’re new to this – I’ll walk you through each step like I’m right there in the kitchen with you.
Step 1: Prep the Coating Stations
First, set up your breading assembly line with three shallow bowls (pie plates work great!):
- Bowl 1: Flour + seasonings (give it a good whisk to blend)
- Bowl 2: Egg + milk mixture (whisk until completely smooth)
- Bowl 3: Breadcrumbs (spread evenly for easy coating)
Keep one hand for dry ingredients and one for wet to avoid “club fingers” (you’ll thank me later!). Line them up in order – this flow makes coating a breeze.
Step 2: Fry to Golden Perfection
Heat oil to 350°F (use a thermometer – guessing leads to greasy or burnt tenders!). Working in batches:
- Coat each tender: flour → egg → breadcrumbs (press gently so crumbs stick)
- Carefully lower into hot oil (don’t splash!)
- Fry 3-4 minutes per side until deeply golden
- Drain on paper towels immediately
Listen for that happy sizzle when they hit the oil – that’s how you know the temperature’s right!
Pro Tip for Extra Crispiness
For insane crunch: after first breading, dip tenders back in egg wash and coat with breadcrumbs again. This double-layer creates next-level texture that stays crispy forever!
Tips for the Best Chicken Tenders
After making these tenders probably a hundred times, I’ve picked up some foolproof tricks to guarantee perfection every time. First – that paper towel draining step? Non-negotiable! It keeps the crispiness while absorbing any excess oil. And whatever you do, resist the urge to overcrowd the pan – giving each tender space means even cooking and maximum crunch.
Here’s my golden rule: keep an eye on your oil temperature. If it drops too low, you’ll get greasy tenders; too high and they’ll burn before cooking through. I always keep my thermometer handy to maintain that sweet spot at 350°F. Oh, and that first batch? Let them rest a minute before biting in – the steam needs to settle or you’ll lose that perfect crust!
Chicken Tenders Variations
One of the best things about this recipe is how easily you can mix it up! When I’m feeling fancy, I’ll swap regular breadcrumbs for panko – they give an incredible light, airy crunch. My health-conscious sister swears by air-frying hers at 400°F for about 10 minutes (just spritz with oil first). For gluten-free friends, crushed cornflakes make a fantastic crispy alternative. The possibilities are endless!
Serving Suggestions
Oh, the dipping possibilities! My family goes crazy for these tenders with homemade honey mustard (just mix mayo, mustard, and a drizzle of honey – so easy). For game days, we break out the BBQ sauce and ranch for a crowd-pleasing trio. They’re heavenly piled on a crisp salad or served with classic sides – think golden fries, tangy coleslaw, or buttery corn on the cob. Honestly, they disappear so fast, the plates barely need washing!
Storing and Reheating
If by some miracle you have leftovers (rare in my house!), store them in an airtight container in the fridge for up to 3 days. When reheating, skip the microwave – it turns them soggy! Instead, pop them on a baking sheet in a 375°F oven for about 8 minutes, and they’ll come out crispy as day one. My trick? A quick spritz of oil before reheating brings back that fresh-fried magic!
Nutritional Information
Here’s the approximate nutrition per serving (4 tenders): 280 calories, 22g protein, 20g carbs, and 12g fat. Remember – nutrition varies based on ingredients/brands used. Always check your specific products for accuracy!
Chicken Tenders FAQs
Over the years, I’ve gotten so many questions about these tenders – here are the ones that come up most often with my tried-and-true answers:
Can I bake these chicken tenders instead of frying?
Absolutely! For baked tenders, arrange them on a wire rack over a baking sheet at 425°F for about 15 minutes. Flip halfway through – they won’t get quite as crispy as fried, but a light spray of oil helps. My kids never notice the difference!
Can I use chicken breasts instead of tenders?
Yes! Just slice breasts into even strips (about 1/2 inch thick) so they cook at the same rate. I actually do this often when tenders aren’t on sale. The coating sticks just as well – promise!
How do I keep tenders warm for serving?
My secret? Place them in a single layer on a baking sheet in a 200°F oven. They’ll stay crispy and warm for up to 30 minutes this way. No more cold, soggy tenders by the time everyone sits down!
Rate This Recipe
Did you love these crispy chicken tenders as much as we do? Drop a quick note below to let me know how yours turned out – I read every single one!
Print
Perfectly Crispy Chicken Tenders in 20 Minutes – Irresistible!
- Total Time: 23 mins
- Yield: 4 servings 1x
- Diet: Low Lactose
Description
Crispy and juicy chicken tenders perfect for a quick meal or snack.
Ingredients
- 1 lb chicken tenders
- 1 cup all-purpose flour
- 1 tsp salt
- 1 tsp black pepper
- 1 tsp paprika
- 1 tsp garlic powder
- 1 egg
- 1/2 cup milk
- 1 cup breadcrumbs
- Oil for frying
Instructions
- Preheat oil in a pan to 350°F.
- Mix flour, salt, pepper, paprika, and garlic powder in a bowl.
- Whisk egg and milk in another bowl.
- Place breadcrumbs in a third bowl.
- Coat each chicken tender in flour, then dip in egg mixture, and finally coat with breadcrumbs.
- Fry tenders for 3-4 minutes per side until golden and cooked through.
- Drain on paper towels and serve hot.
Notes
- Use a meat thermometer to check chicken reaches 165°F.
- For extra crispiness, double-coat with breadcrumbs.
- Serve with dipping sauces like ketchup or honey mustard.
- Prep Time: 15 mins
- Cook Time: 8 mins
- Category: Main Course
- Method: Frying
- Cuisine: American
Nutrition
- Serving Size: 4 tenders
- Calories: 280
- Sugar: 1g
- Sodium: 420mg
- Fat: 12g
- Saturated Fat: 2g
- Unsaturated Fat: 8g
- Trans Fat: 0g
- Carbohydrates: 20g
- Fiber: 1g
- Protein: 22g
- Cholesterol: 85mg
Keywords: chicken tenders, crispy chicken, fried chicken, easy chicken recipe


")
")
")
")